User Management
Manage team members, roles, permissions, and authentication
Members
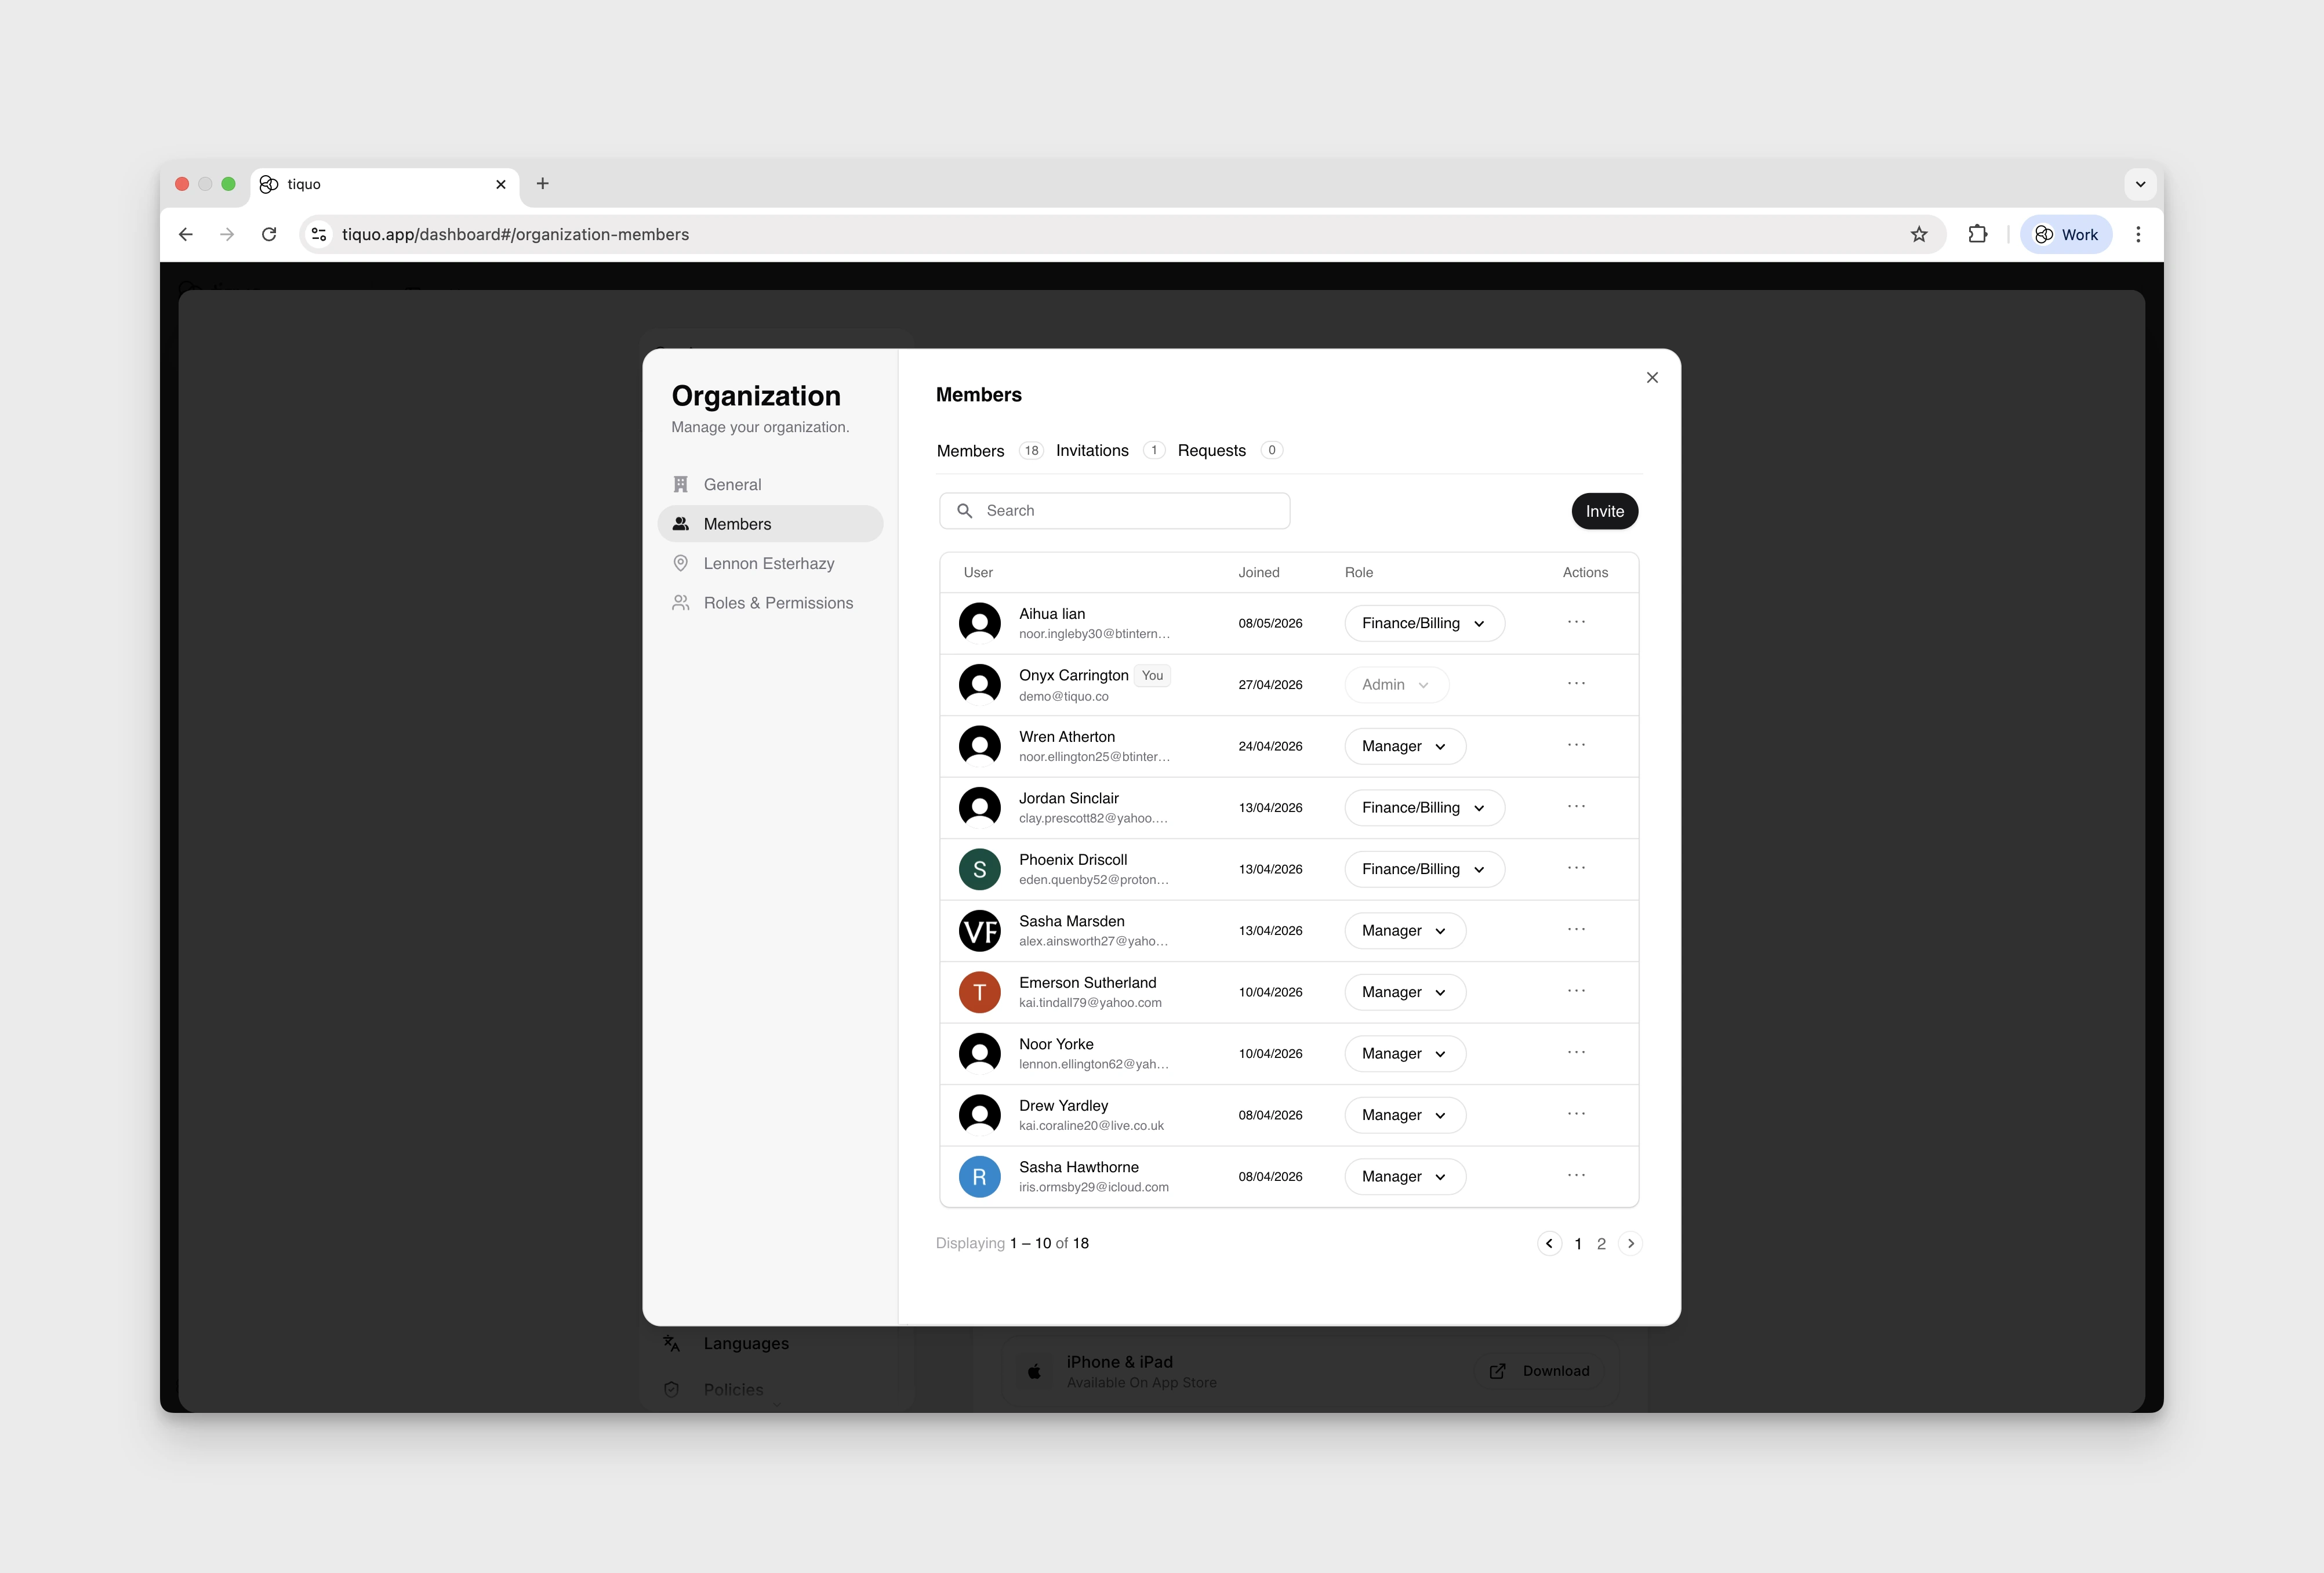
The Members section shows all users who currently have access to the organisation.
For each member, you can view:
| Field | Description |
|---|---|
| Name and email | User identity |
| Assigned role | Permissions level |
| Sublocation access | Which locations they can access |
| Account status | Active, pending, or disabled |
From here, administrators can manage access, update roles, and remove users if needed.
Invite Collaborators
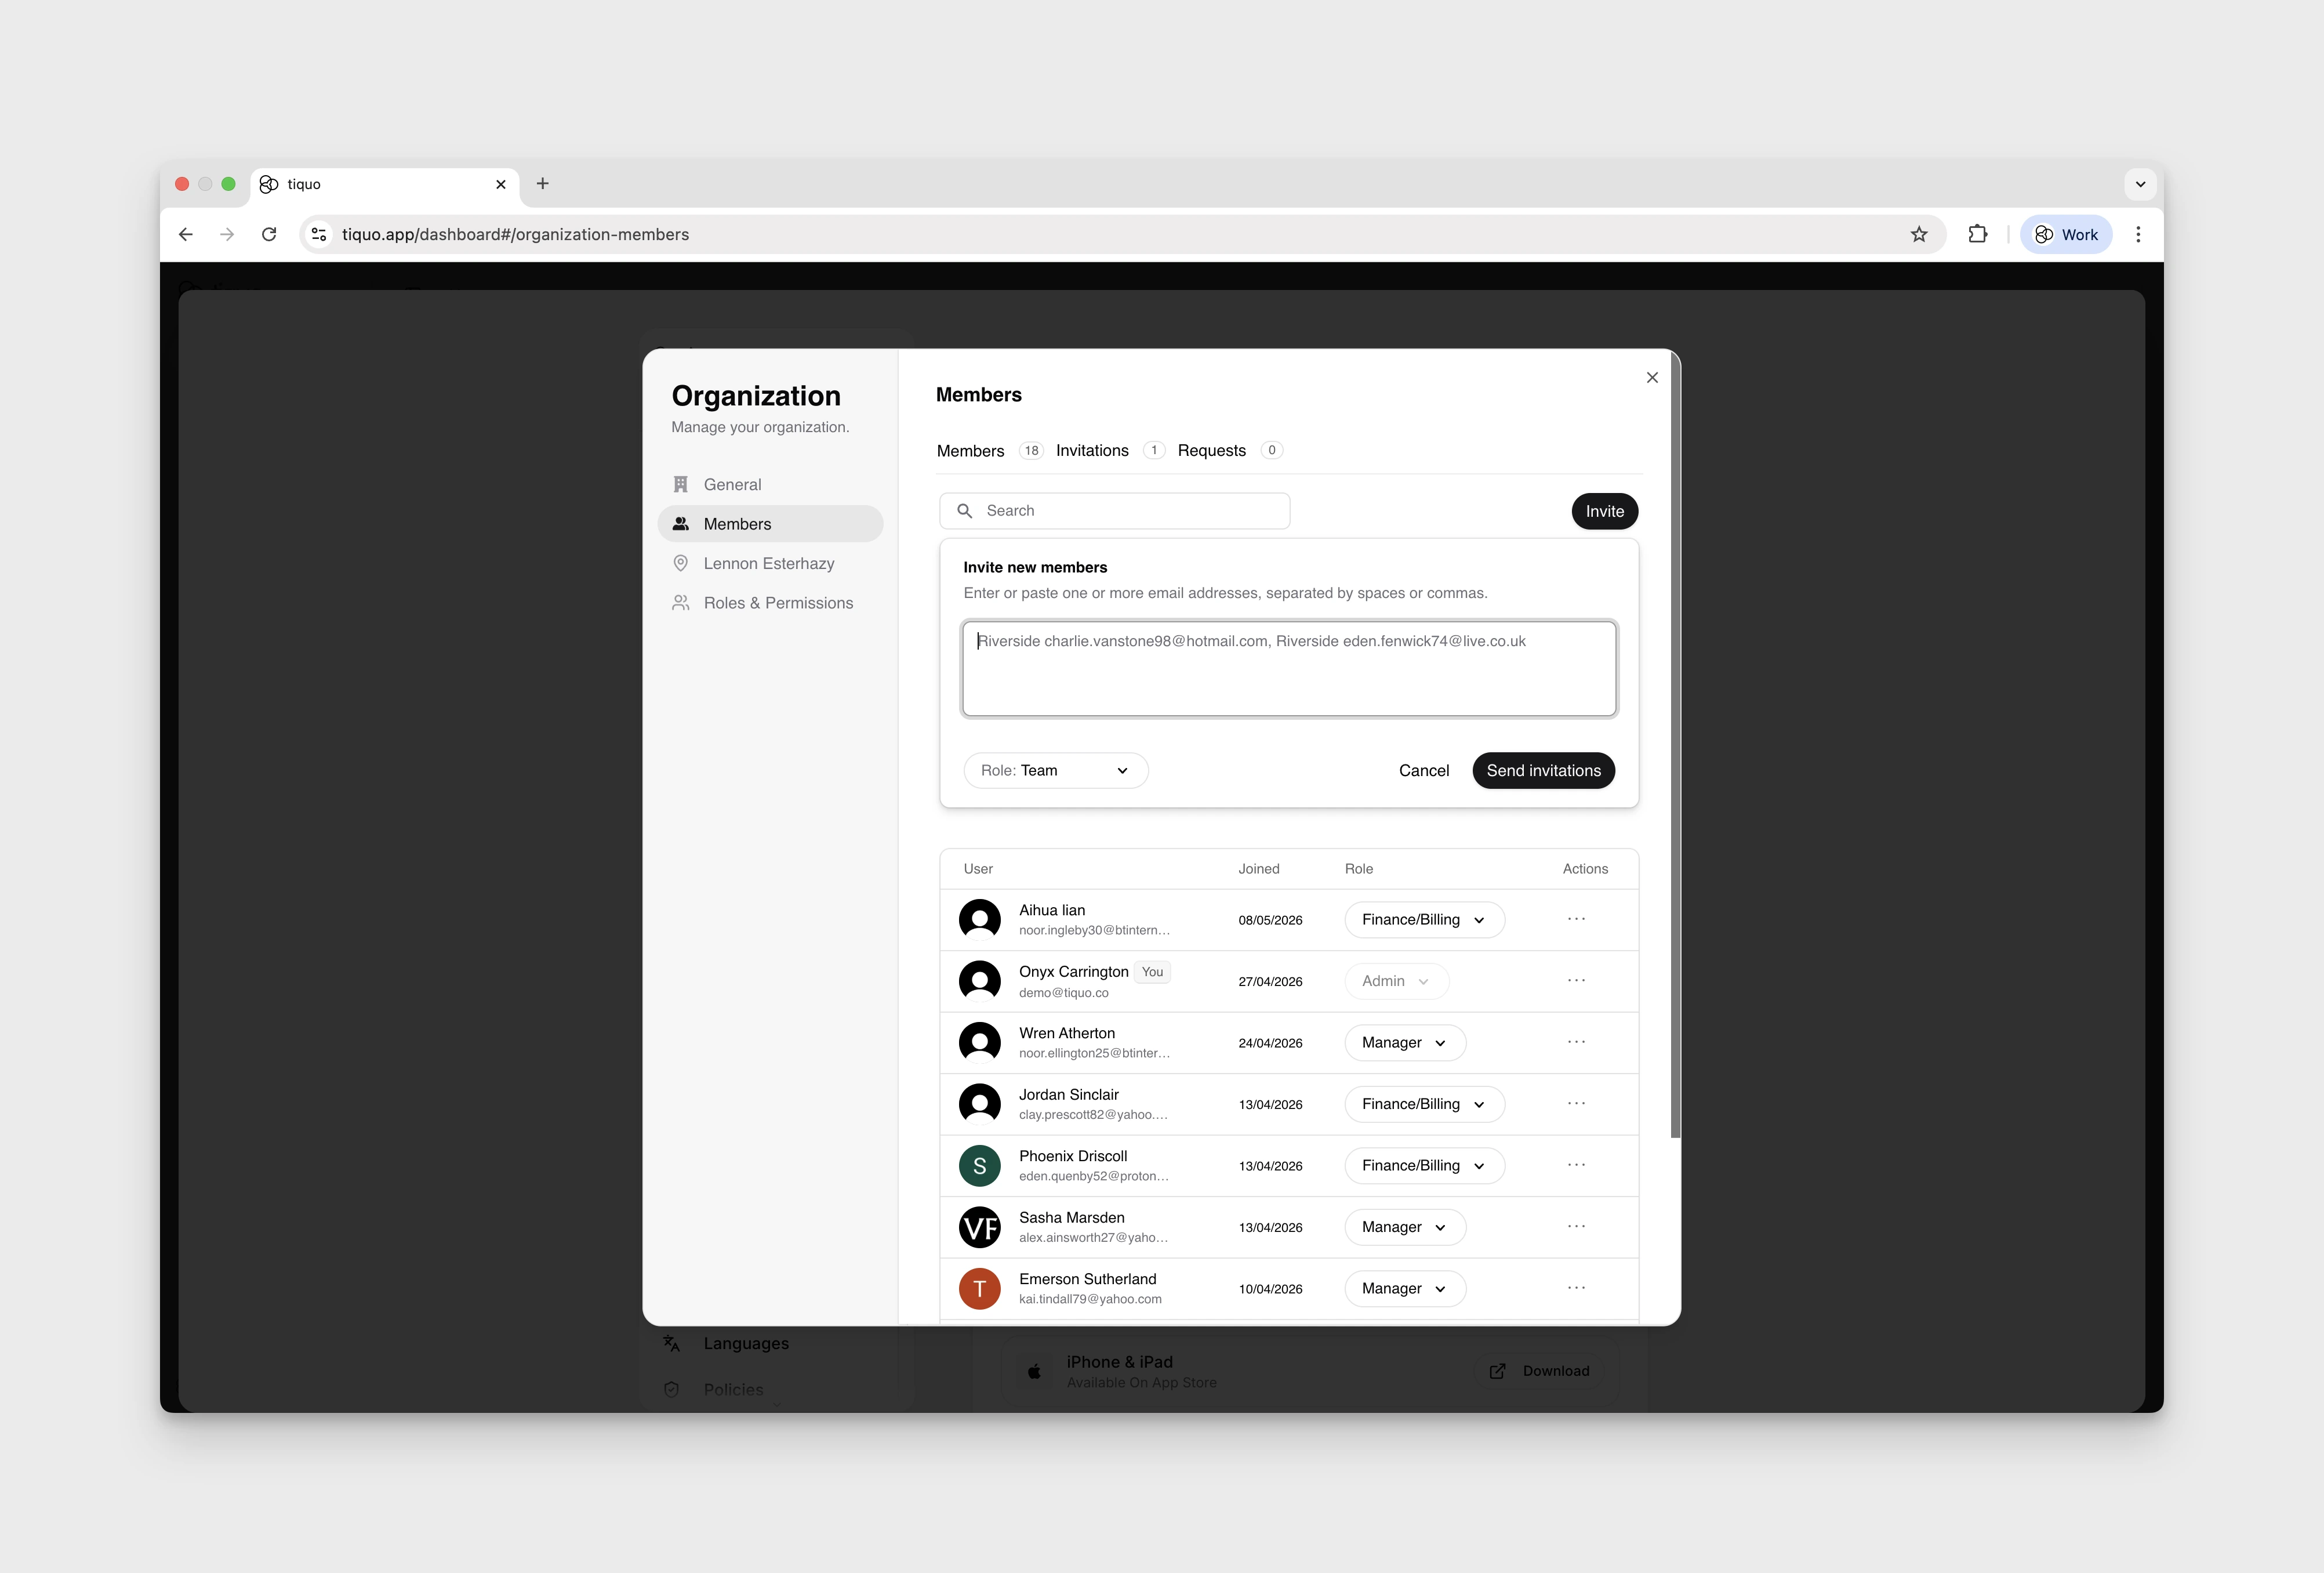
You can invite new users to the organisation by email.
Define Role
Select the role for the new team member
Set Sublocation Access
Choose which sublocations they can access
Send Invitation
The user receives an email with instructions to create an account or sign in
Once accepted, invited users immediately gain access based on the assigned permissions.
Request Access
If Verified Domains are configured, users with an email address on a verified domain can request access to the organisation automatically.
When a user requests access:
- Administrators are notified
- The request can be approved or rejected
- Approved users are added with the assigned default role or a role chosen by an admin
This simplifies onboarding for larger teams and reduces manual access management.
Roles & Permissions
Roles define what users can see and do within Tiquo.
Each role controls permissions such as:
- Viewing or managing orders, bookings, and enquiries
- Accessing CRM data
- Managing payments and refunds
- Editing configuration and settings
Roles are assigned at the user level and apply across the organisation unless restricted by sublocation access.
Default Roles
Every organisation comes with four built-in roles:
| Role | Typical use |
|---|---|
| Admin | Full access to every area of the platform. Admin permissions are locked on and cannot be removed. |
| Manager | Day-to-day operations — orders, bookings, customers, products, marketing. |
| Finance / Billing | Payments, refunds, invoices, and reporting. |
| Team | Front-of-house staff access for handling orders, customers, and enquiries. |
Custom Roles
If the four defaults don't match how your team works, you can add up to six additional custom roles for a total of ten roles per organisation.
Open Roles & Permissions
From Manage Organisation → Roles & Permissions, click Add role.
Name the Role
Enter a name that reflects how the role will be used (e.g. Sales Lead, Event Coordinator, Auditor). You can rename it later by clicking the pencil icon next to the role's column header.
Configure Permissions
Toggle each permission on or off for the new role. Custom roles start with no permissions granted — turn on only what the role needs.
Custom roles can be removed at any time from the same screen. Members assigned to a removed role will lose its permissions; reassign them to another role first if needed.
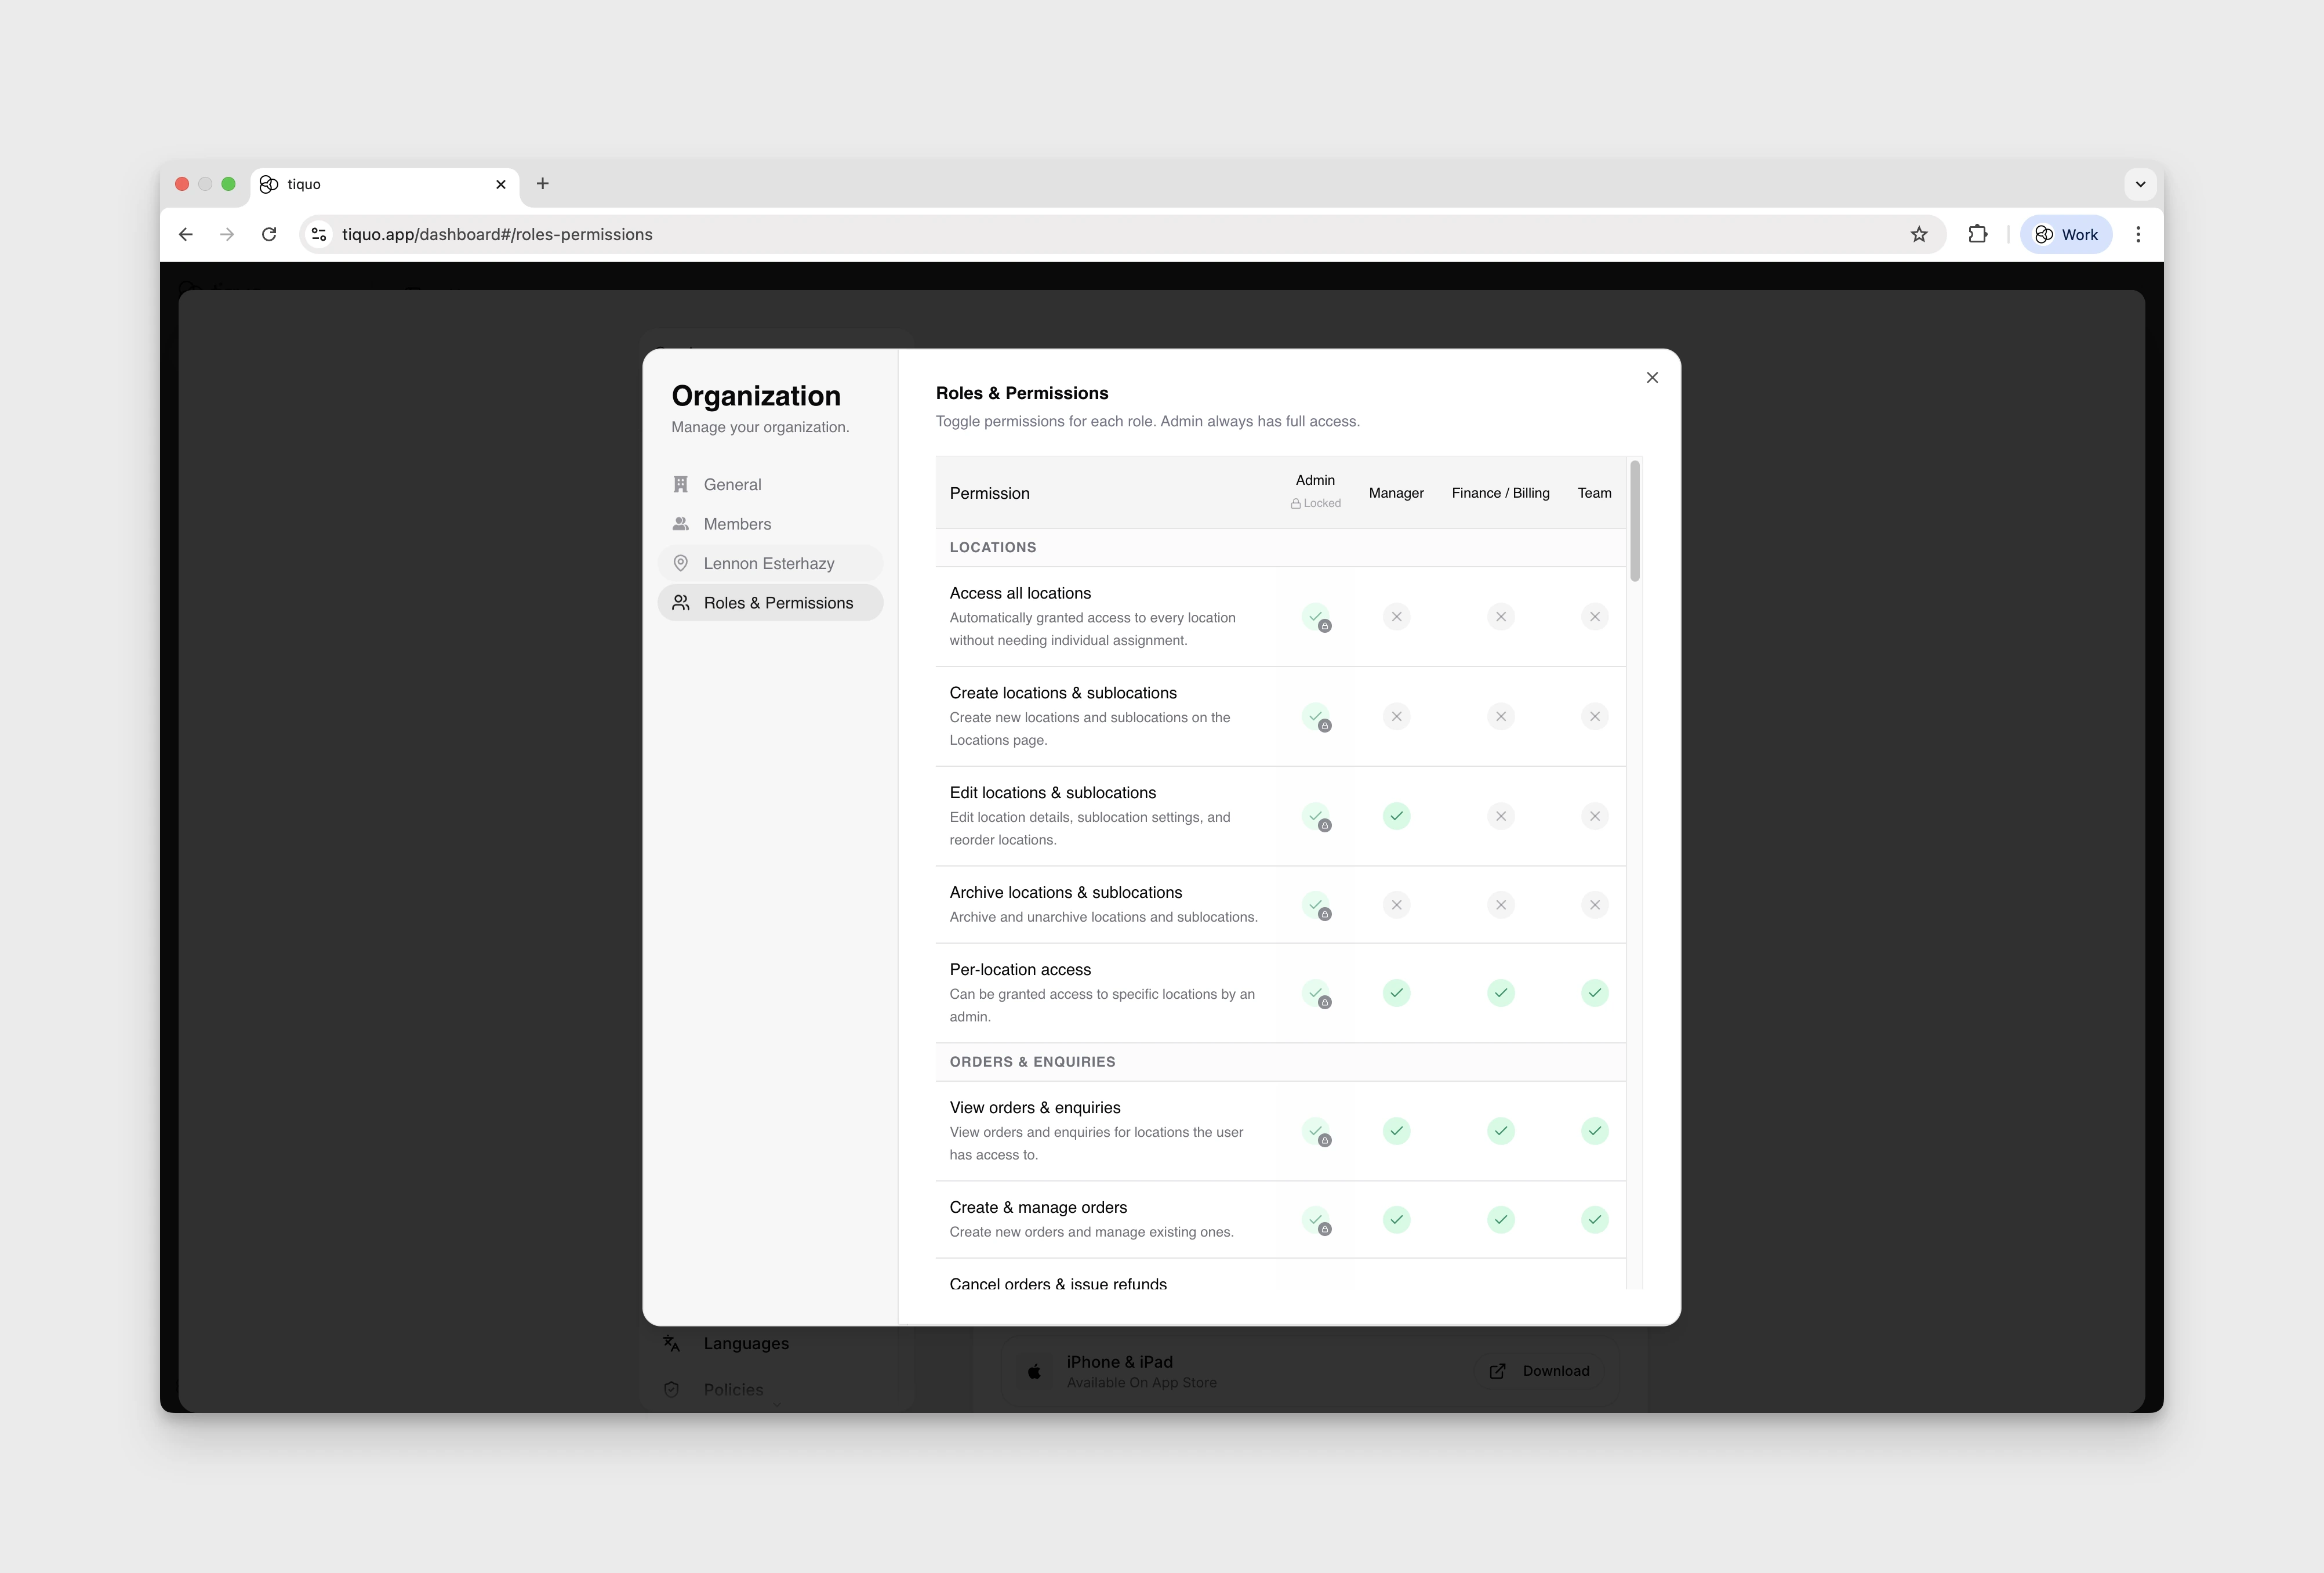
Customising Permissions
Admins can fine-tune what each role can do directly from the Roles & Permissions table.
- Each row is a permission (e.g. Cancel orders & issue refunds, Manage discounts, View payment data).
- Each column is a role.
- Click the cell at the intersection to grant or revoke that permission for that role.
- Admin permissions are always on and cannot be changed.
- Use Reset to defaults to revert every role's permissions back to their factory settings.
Permission changes apply immediately to anyone currently signed in with that role.
Sublocation Access
Access to data and functionality can be restricted by sublocation.
For each user, you can:
- Grant access to all sublocations
- Limit access to specific sublocations only
This ensures staff only see the locations, orders, bookings, and customers relevant to their role.
Authentication Methods
Tiquo supports multiple authentication methods to balance ease of access and security.
Supported authentication methods include:
- Email and password
- Social sign-in using Google, Microsoft, or Apple
For organisations with more advanced requirements, Enterprise SSO is also supported, including:
- SAML
- OIDC
- Enterprise identity providers (EASIE-compatible)
If you require Enterprise SSO, please contact the Tiquo team to enable and configure this for your organisation.