Import & Export Data
Move data into and out of Tiquo via guided wizards
Tiquo provides guided wizards for both importing existing data into the platform and exporting platform data out. Imports are typically used during onboarding to migrate from another system; exports are typically used for reporting, backups, or moving data to other tools.
Navigating to Import & Export
Both flows live under Settings. The Import & Export landing page exposes both wizards from a single screen.
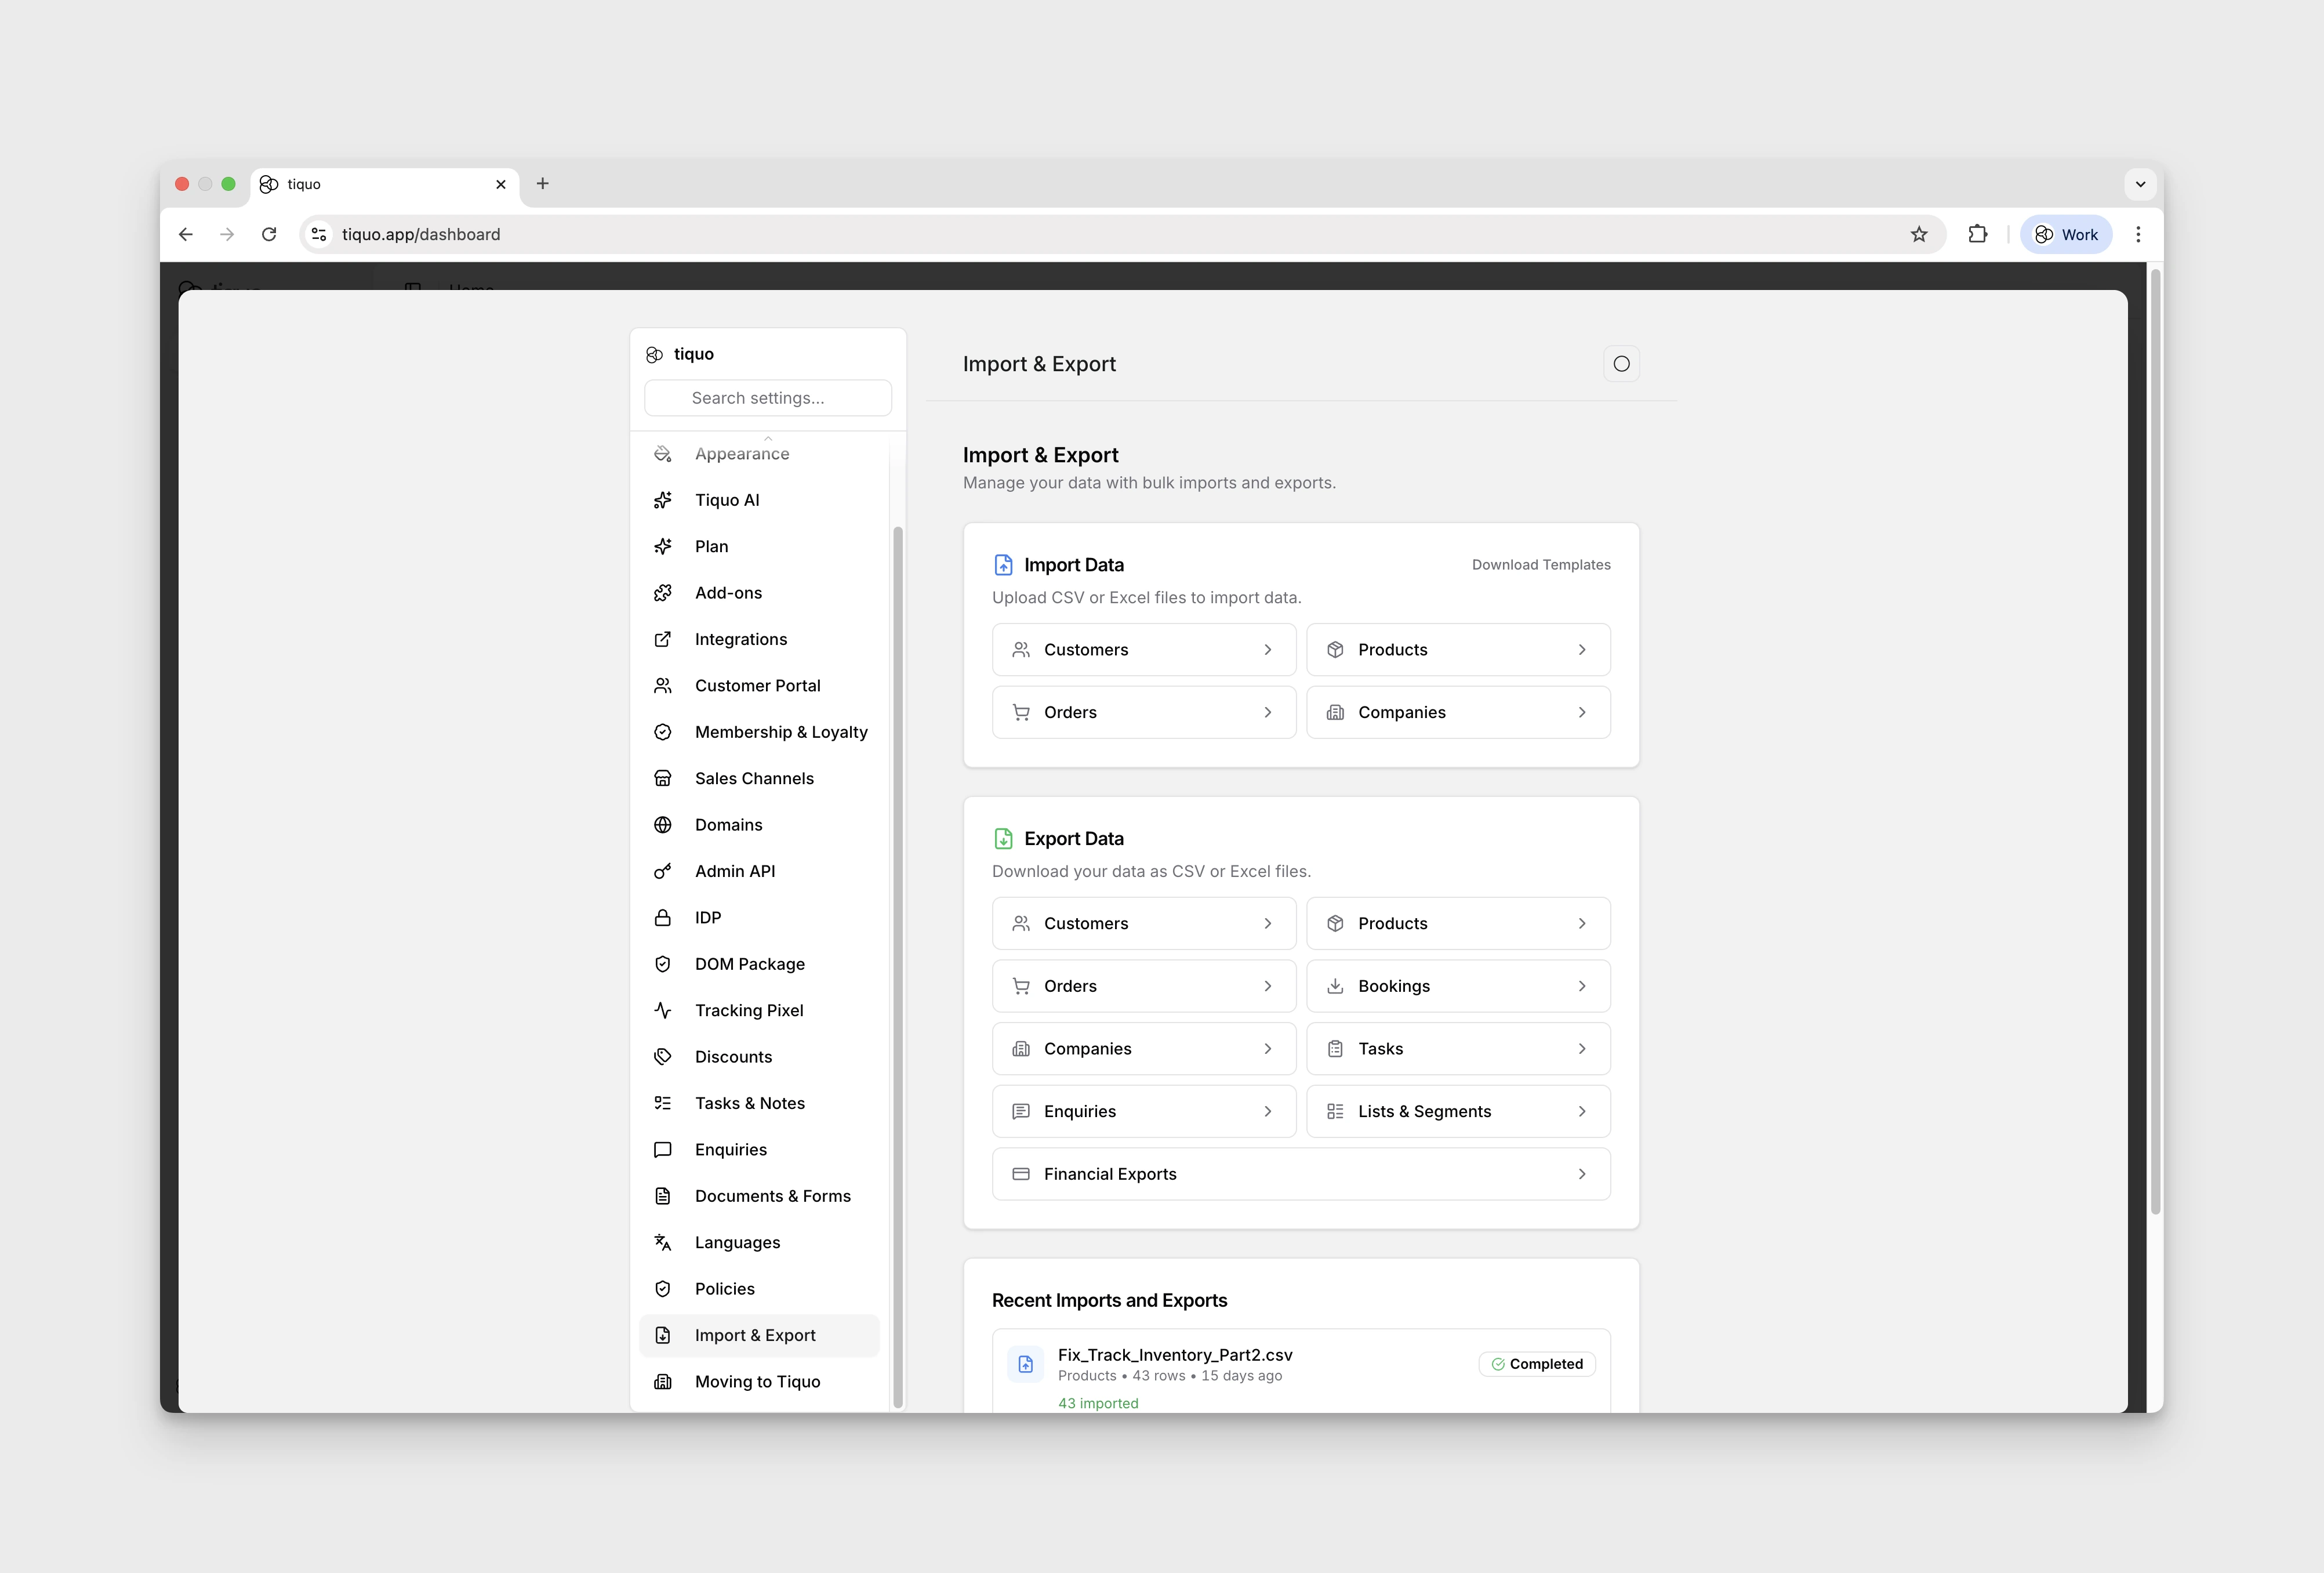
Import
What Data Can Be Imported
From Settings → Import & Export, Tiquo supports importing these data types:
| Import type | What it is used for |
|---|---|
| Customers | Customer records, contact details, marketing consent, addresses, and related customer information. |
| Products | Product catalogue data such as names, SKUs, categories, pricing, tax, stock levels, and product details. |
| Orders | Historical orders and transactions. Imported orders are treated as legacy data for reporting and audit context. |
| Companies | Company records, contact information, corporate domains, industry, status, and company profile details. |
This allows you to preserve customer records, offerings, pricing, and historical orders while setting up the rest of the platform.
Preparing Your Data
Preparing clean data helps avoid issues during import and ensures accurate reporting and operations once live.
Before importing, data should be reviewed and formatted correctly. This typically involves:
- Ensuring required fields are present
- Removing duplicates where possible
- Checking naming and categorisation consistency
Import wizard steps
The Import wizard is a guided flow:
- Choose category: pick Customers, Products, Orders, or Companies.
- Choose sublocation: for Products and Orders, select the sublocation the data belongs to.
- Upload file: upload a CSV or Excel file. The file is parsed and prepared for mapping.
- Map fields: match each column in the file to the corresponding field in Tiquo.
- Review options: decide how to handle conflicts, including overwrite behaviour (replace existing records or skip duplicates) and auto-enrich (let Tiquo fill in missing fields where possible from existing data or external sources).
- Confirm and run: the wizard executes the import and reports successes, skips, and errors.
Verify Imported Data
After an import is complete, Tiquo provides tools to review and verify the imported data. This allows you to:
- Confirm records were imported correctly
- Spot and correct any errors or omissions
- Ensure data is ready for live operations
Verifying data before going live helps ensure a smooth launch and avoids disruption to customers or staff.
Export
The Export wizard mirrors the Import wizard in shape: a guided flow for getting data out of Tiquo as a downloadable file.
From Settings → Import & Export, Tiquo supports these export types:
| Export type | What it includes |
|---|---|
| Customers | Customer profile, contact, consent, membership, loyalty, statistics, and date fields selected in the wizard. |
| Products | Product catalogue fields such as name, SKU, category, pricing, status, visibility, stock quantity, and variants. |
| Inventory | Product stock data, including product-level quantities or one row per stock group when stock groups are enabled. |
| Orders | Order numbers, customers, dates, statuses, totals, payment fields, order details, locations, and timestamps. |
| Bookings | Booking numbers, customers, services, dates, times, statuses, linked order details, staff, locations, and notes. |
| Companies | Company profile, contact, address, business, status, tag, statistics, notes, and date fields. |
| Memberships | Membership plan name, whether the plan is free or paid, whether the plan is active, whether the plan applies to customers, companies, or both, default membership price, billing currency, billing period, customer-visible active memberships from direct and company assignments, and other associated membership metadata. |
| Tasks | Task content, type, status, due dates, completion details, categories, location, attribution, and timestamps. |
| Enquiries | Enquiry number, contact details, subject, message, type, status, priority, assignment, source, response tracking, and financial summary fields. |
| Lists & Segments | List or segment names, descriptions, type, customer count, archived status, Resend fields, attribution, and dates. |
| Financial Exports | Stripe payment/accounting exports for connected payment accounts and selected locations. |
Export wizard steps:
- Choose entity type: pick the data type to export (e.g., Products, Customers, Orders).
- Date range: scope the export to a specific period (relevant for Orders and Bookings; less relevant for static catalogs). Booking exports can include future date ranges for upcoming reservations.
- Field picker: select which fields to include in the export. Tiquo preselects common fields, and staff can add or remove columns before exporting.
- Format: CSV, XLSX, or other supported formats.
- Task or order options: for entity types that support task or order context (e.g., bookings tied to specific orders), choose how to scope the export.
- Run: Tiquo generates the file and either downloads it directly or makes it available for download once processing completes.
Inventory Exports
Use Export Inventory when you need a stock-level view of products rather than a standard product catalogue export.
Inventory exports include product context, such as the product name, SKU, category, sublocation, and status, together with the relevant quantity information.
How inventory rows are created:
- Products with stock groups enabled: each stock group is exported as its own row, linked back to the product it belongs to.
- Products without stock groups enabled: the product is exported as a single row with the product-level quantity.
- Products where inventory is not tracked: the product is still exported, and stock-related columns show that the quantity is not tracked.
When stock groups are enabled, the export can include stock group fields such as group name, quantity, availability, stock location, ownership, sell-by date, KDS location, and low stock threshold. Fields only contain values when that setting is enabled for the product or stock group.