
Account Setup
Create an organisation and complete the initial Tiquo setup
You can create a Tiquo organisation without an invitation. Contact the Tiquo team for commercial onboarding, help migrating data, or access to a feature outside your current plan.
Create your organisation
Create or sign in to your Tiquo account
Create an account or sign in, then open the organisation selector.

Choose Create Organization
In the organisation selector, click Create Organization, enter the organisation name, and complete the creation form. Tiquo then switches into the new organisation.

Complete organisation details
Open Settings > General to complete the organisation profile and organisation-wide controls. Configure legal entities and appearance where required.
Create a location and sublocation
Open Locations, create the physical location, then add at least one operational sublocation. Products, services, orders, bookings, and payment settings belong to sublocations.
Connect and assign Stripe
Connect the Stripe account used to process payments, then open the relevant sublocation's settings and assign that connected account to the sublocation. Connecting an account without assigning it to a sublocation does not complete that sublocation's payment setup.

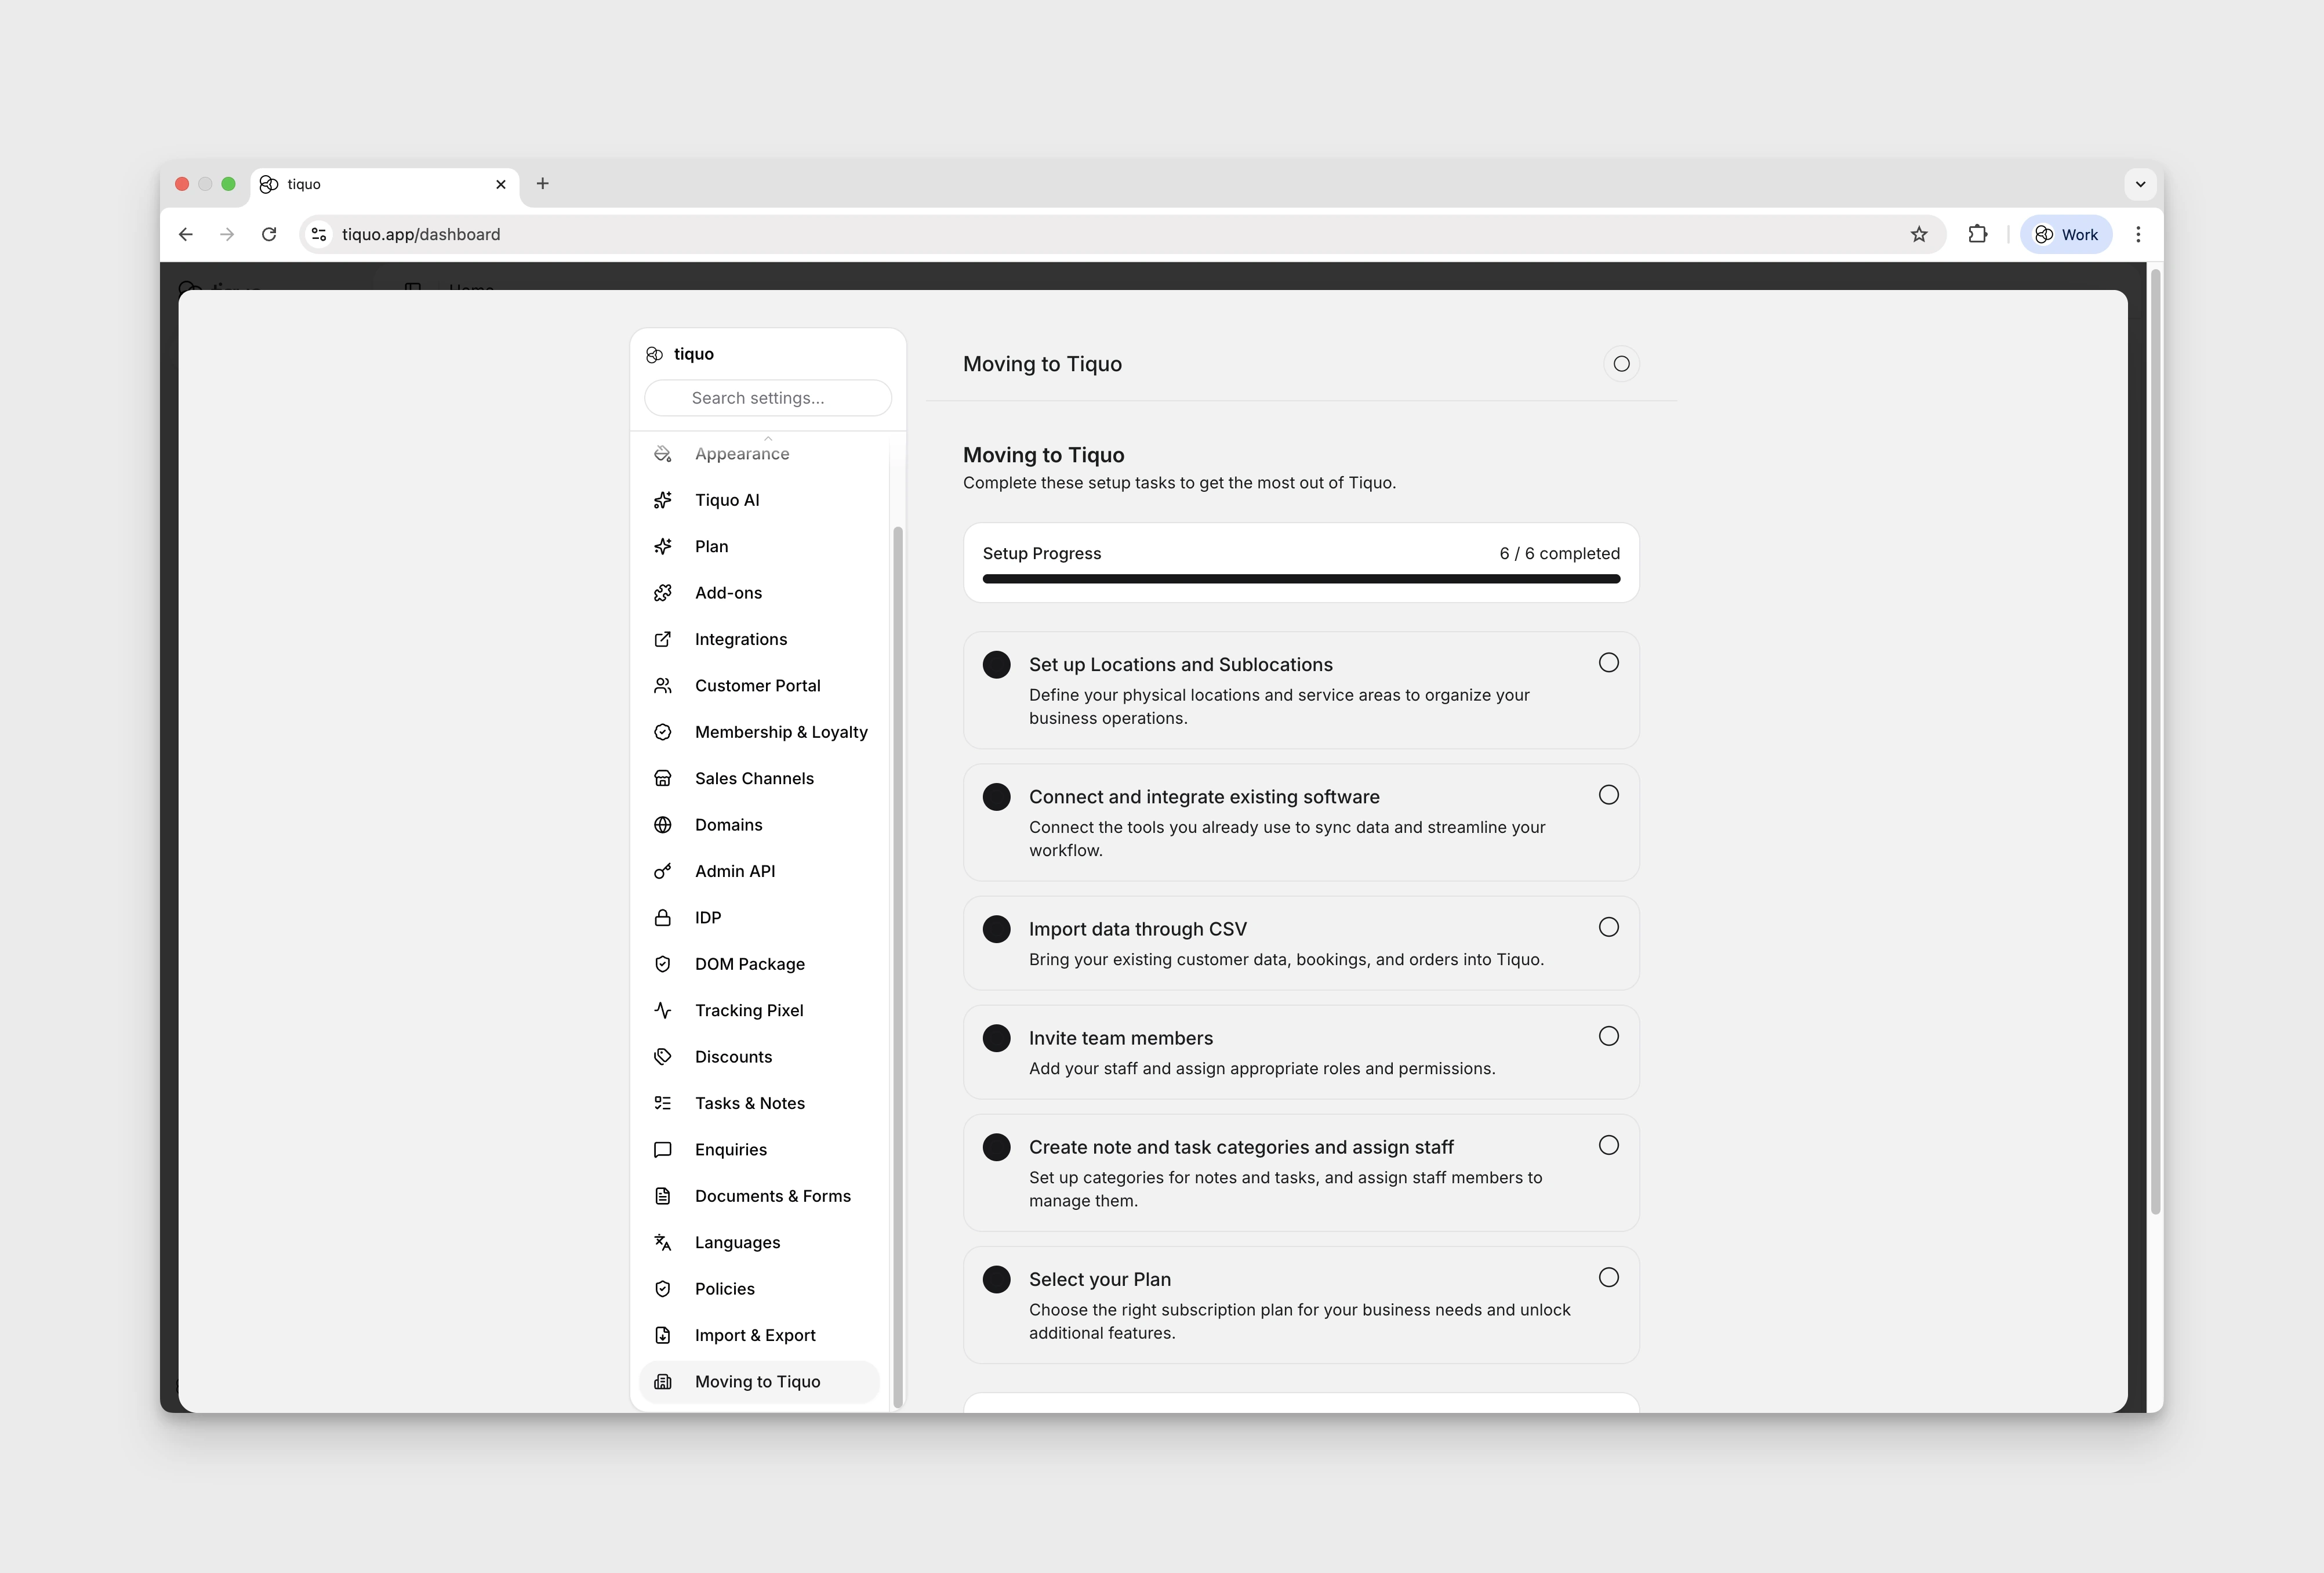
First-time setup checklist
- Complete the organisation profile.
- Configure legal entities.
- Create the first location and sublocation.
- Connect payment processing and assign the account to each relevant sublocation.
- Invite team members. See Organization Settings.
- Configure branding and themes. See Themes.
- Configure the required portal, website, and email domains. See Custom Domains.