

Custom Domains
Configure portal domains for customer-facing web experiences and email domains for email communications
Use your own domain for customer portals, hosted booking pages, and email.
- Portal Domains provide a branded hostname for either Customer Portals or hosted Booking Flows.
- Email Domains apply to email newsletters, email notifications, and transactional emails.
Why use a custom domain
Customers can recognise your domain when they open a portal, book, or receive an email.
- Portal Domains keep a Customer Portal or hosted Booking Flow on your own branded hostname, such as
portal.yourdomain.comorbook.yourdomain.com. - Email Domains let you send newsletters, notifications, and transactional emails from addresses at your own domain.
Setting up your domain
To set up a portal or email domain, open Settings > Domains.
Domain setup controls are disabled in the demo platform. You can view the Portal Domains and Email Domains sections, but cannot add a domain there.
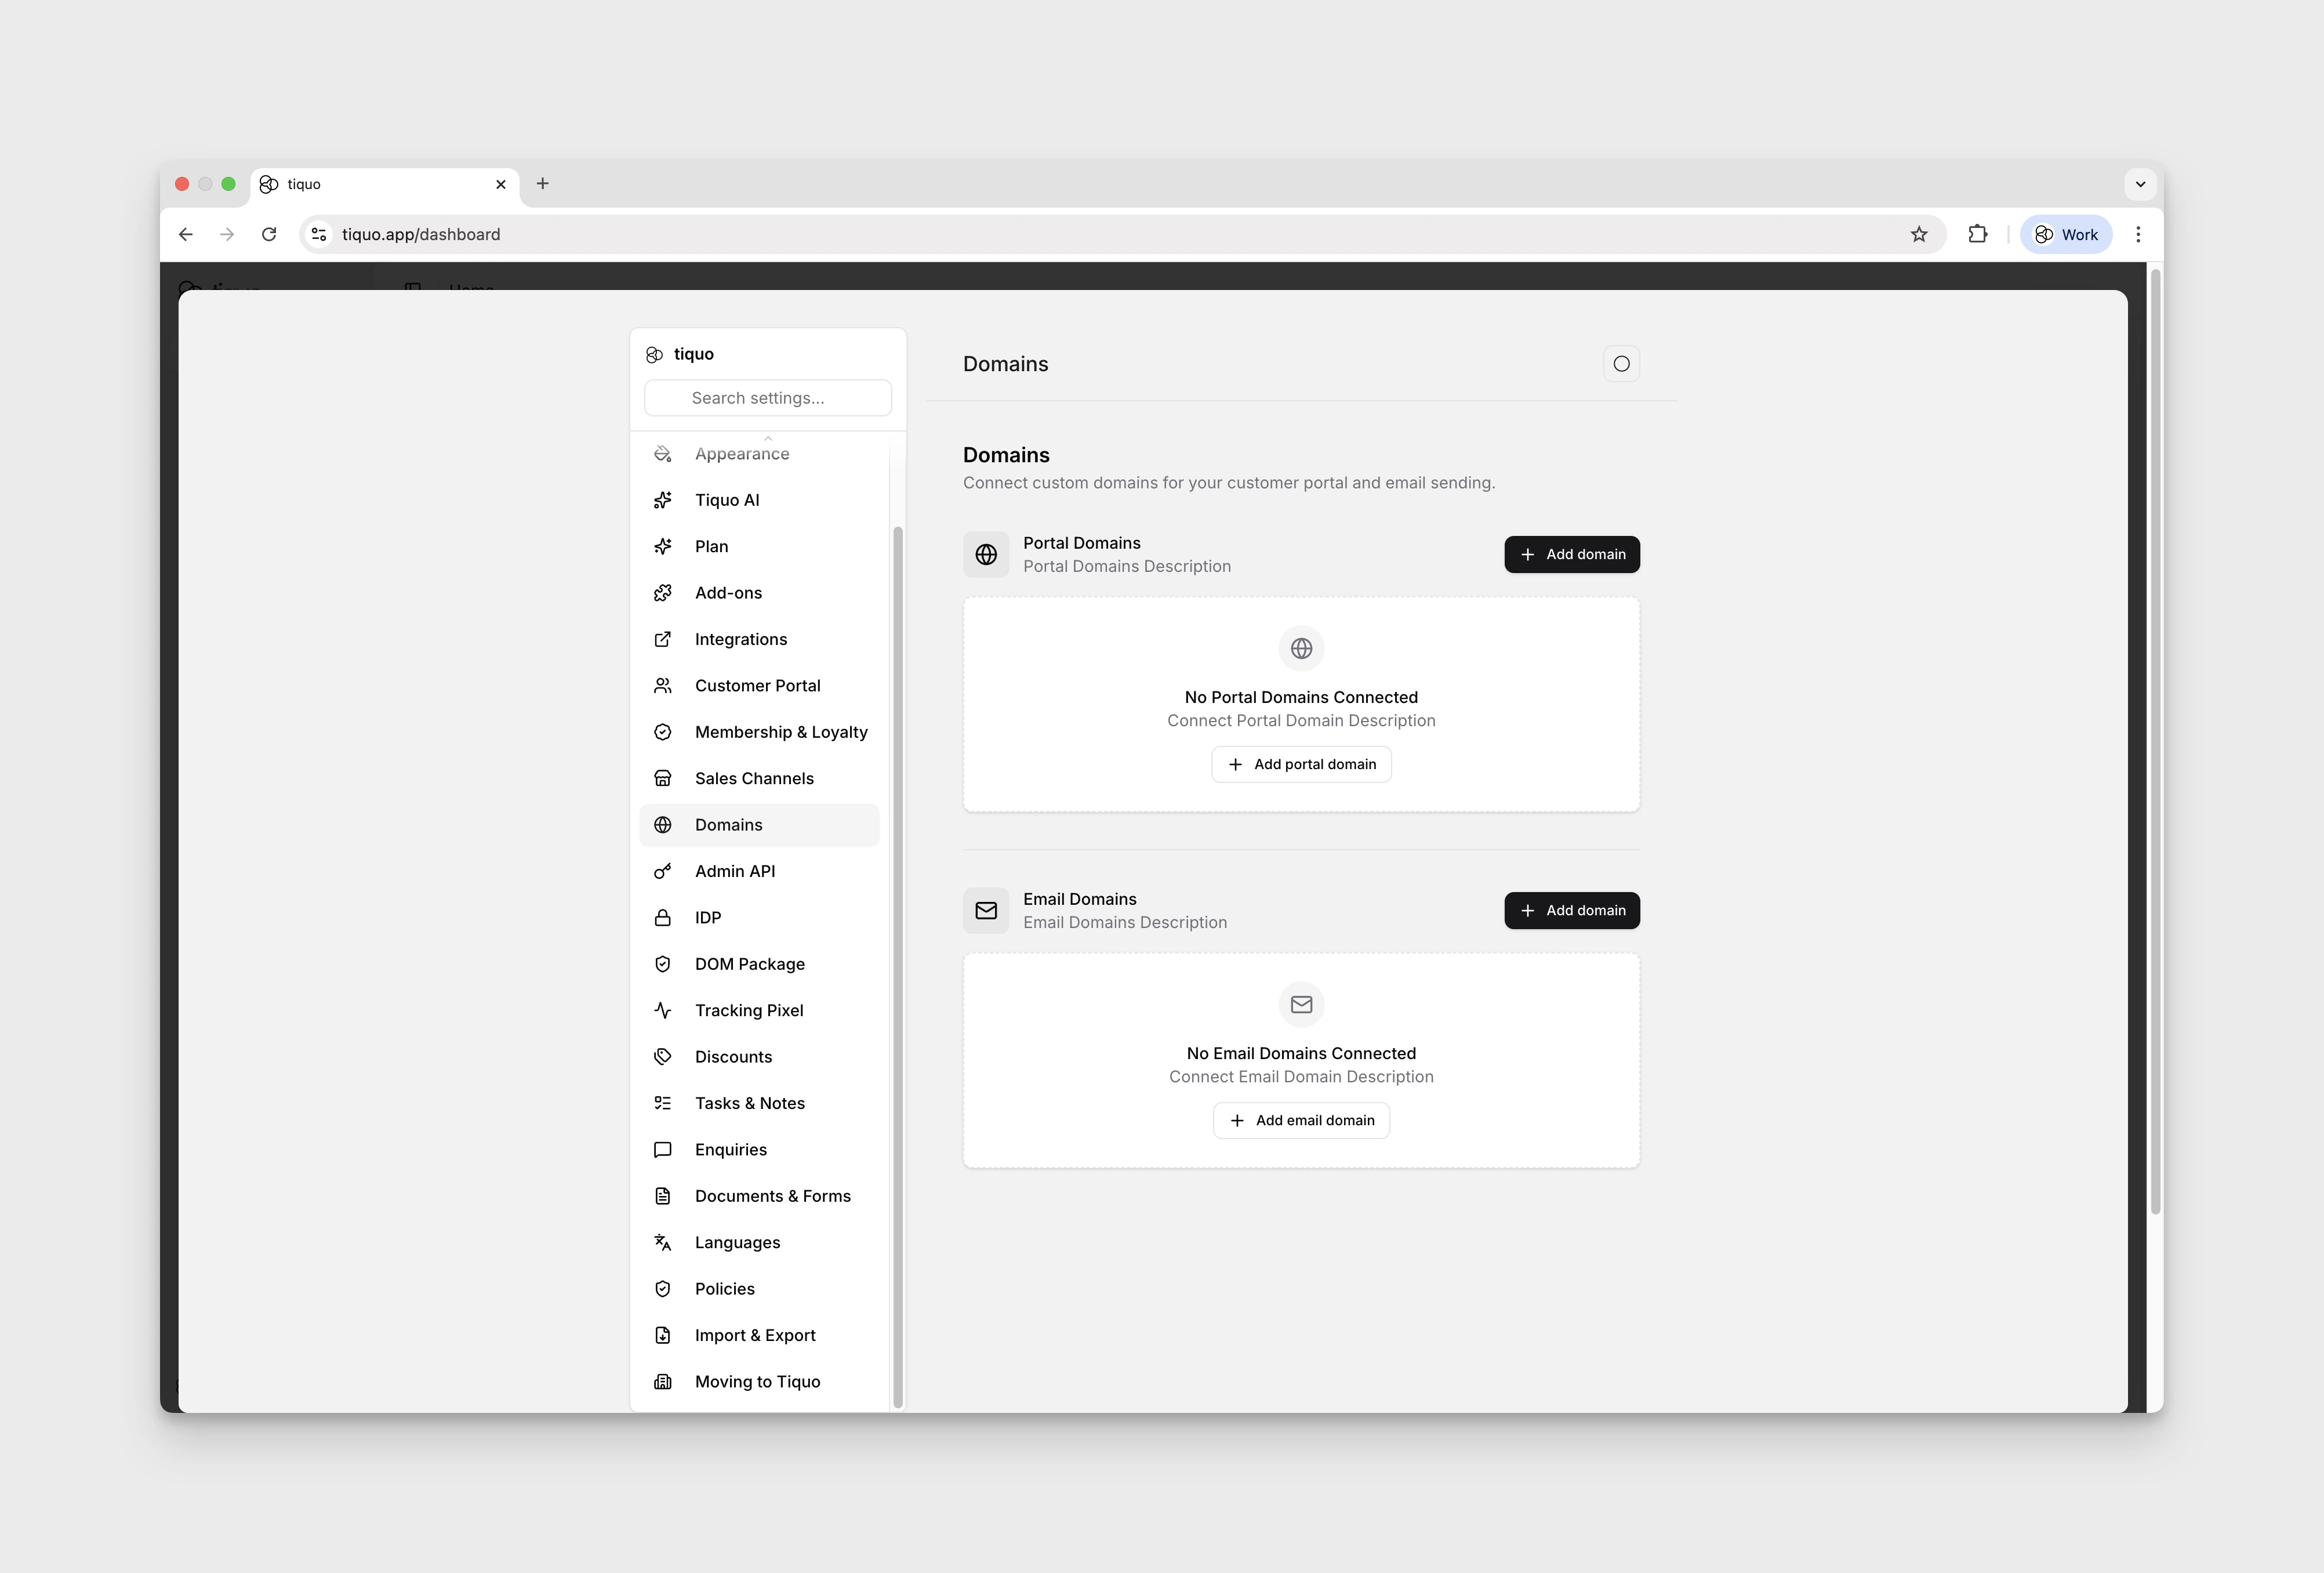
Choose whether the domain is for Customer Portal or Booking Flows. Enter the root domain you control and Tiquo configures the corresponding fixed hostname: portal.yourdomain.com for portals or book.yourdomain.com for hosted booking pages. SSL is provisioned automatically.
A booking-flow domain changes hosted booking pages. Existing embed code continues to use the standard booking host and does not switch to the custom hostname.
Email domains enable you to send email newsletters, email notifications, and transactional emails from addresses at your own domain.
Tiquo generates the DNS records required to authenticate your sending domain and also provides an optional DMARC record. Verification status is shown in the dashboard.
Add DNS records at your domain registrar
After you enter a portal or email domain and select Next, Tiquo opens the DNS Configuration dialog. Keep this dialog open while you update your DNS settings so you can copy each record exactly as shown.
Your domain registrar and DNS provider may be different companies. If your registrar shows that your nameservers are managed elsewhere, add the records at the provider named in those nameservers. You do not need to change your nameservers to connect a domain to Tiquo.
Add the domain in Tiquo
In organization settings, open Domains. Select Add domain under Portal Domains or Email Domains and select Next.
For a portal domain, choose Customer Portal or Booking Flows, then enter the root domain you control. For an email domain, enter the domain or subdomain you want to verify. Do not include https:// or a page path.
Open your DNS settings
Sign in to your domain registrar or DNS provider and open the DNS management page for your domain. Depending on the provider, this page may be called DNS, Manage DNS, DNS Records, Advanced DNS, or Zone Editor.
Create every record shown by Tiquo
Add a new DNS record for each row in the Tiquo DNS Configuration dialog. Copy the fields into the equivalent fields at your provider:
| Tiquo | Domain provider |
|---|---|
| Type | Type |
| Name or Name / Host | Name, Host, or Hostname |
| Value | Value, Target, Points to, or Data |
| Priority | Priority for an MX record |
Use the copy buttons beside the name and value to avoid typing errors. If Tiquo shows an MX priority, enter it in your provider's separate Priority field. Leave TTL set to Auto or the provider's default unless Tiquo displays a specific TTL.
Portal domains use records that route customer-facing web traffic to Tiquo. Email domains use authentication and mail-routing records; the DMARC record shown by Tiquo is optional.
Save the DNS changes
Save each record at your provider, then return to Tiquo and select Complete Setup for a portal domain or Done for an email domain.
Some providers automatically add your domain to the Name or Host field. Check the saved hostname to make sure the domain has not been added twice.
Verify the domain in Tiquo
DNS changes can take time to propagate. Return to Organization Settings → Domains and select Verify DNS on the pending domain. If verification is still pending, wait and try again; propagation can take up to 24 hours.
Select View DNS Records at any time to compare the required records with the records saved at your provider.
Portal domain SSL and security
- SSL certificates are provisioned for portal domains to ensure encrypted connections
- Customer data, authentication, and payments remain protected
- You do not need to configure additional security settings
Testing and going live
Test your domains
Confirm that the selected Customer Portal or hosted Booking Flow loads correctly on its new hostname. Booking-flow embeds continue to use their standard host.
Verify email deliverability
Send test emails to verify branding and deliverability.
Go live
Once confirmed, direct customers to your portal domain and begin sending emails from your verified email domain.
Switching a live portal or hosted booking page to another domain changes its public URL. Existing website links, emails, QR codes, bookmarks, and integrations are not rewritten automatically and may stop working until you update them.