
Tiquo
Integrations OverviewAirtableAsanaSlackGoogle AnalyticsMetabaseMixpanelPendoSegmentTableau (PAT)ActiveCampaignBrevoEmarsys Core API (WSSE)EventbriteFacebookGoogle AdsHighLevelInstagramKlaviyoMailchimpMailgunMicrosoft AdsSendGridTwitter (v2)HubSpotNotionAcuity SchedulingAirtable (Personal Access Token)BasecampCal.com (v2)CalendlyClickUpCodaConfluence Data CenterExpensifyGoogle CalendarGoogle SheetHarvestLinearMicrosoft Power BIMicrosoft TeamsMindbodyMondayOpenAIPerplexityPingboardPivotal TrackerProductboardQuickbaseServiceM8ServiceNowTeamworkTickTickTimelyTodoistTrafftTrelloWrikefal.aixAIZendeskIntercomAircall (OAuth)DixaFreshDeskFreshserviceFrontPlainRingCentralZoho DeskBrazeDialpadGoogleMicrosoftOutlookPodiumSednaSharePoint OnlineTwilioWhatsApp BusinessZoho MailBambooHRADPDeelEmployment HeroGustoHibob Service UserNamelyOracle Fusion Cloud (HCM)PaychexPayfitPaylocityPersonioRipplingSAP SuccessFactorsSage HRTSheetsUKG ProUKG ReadyWorkdayZoho PeopleQuickBooksBuildiumExact OnlineFreshBooksIntuitNetSuitePennylaneSageSage IntacctTwinfieldUnanetWave AccountingXeroZoho BooksSalesforceAffinityAttioCopperFreshsalesGainsight CCInsightlyKustomerMedalliaPipedriveTwenty CRMZoomInfoApaleoMewsMicrosoft Business CentralOdooSAP ConcurZuoraAcceloCoupa CompassZoho InvoiceAnrokAvalaraDocuSignDropbox SignPandadocSignNowLinkedInSplitwiseTikTok AdsJotformQualtricsRefinerTypeformShopifyCin7 CoreGoogle MapsRingoverListrakRydooTalentLMSApple Business ManagerCrunchbaseRocketReachOcean.ioFreepikEnergy Performance Certificates (Gov.UK)JustworksGristSAP S/4HANA Cloud3CX8x8Adobe CommerceBirdCloudbedsConstant ContactBufferCustomer.ioCrispFreeAgentGreenhouseMeta Marketing APIMollienocrm.ioOomnitzaDigitsPylonSage 200ShopwareAnvilShippoEasyPostAltrataMicrosoft PeopleMicrosoft IntuneCloudTalkGoogle FormsMaximizerMicrosoft PlannerSalesmsgSellercloudTallyTimifyUpsalesCleverReachHeymarketMailjetPleoProvenExpertTelegramToggl TrackTenzoASSA ABLOY Vingcard VisionlineASSA ABLOY Vingcard VostioASSA ABLOY TESA HotelASSA ABLOY SMARTairSalto KSSalto Space OnlineDormakabaOmnitecHotekTT LockWebLockISEOKleverKeyAperioISONASHIDSouthcoThird MillenniumSTidAxis CommunicationsBooking.comExpediaHotels.comAirbnbGoogle HotelsTripadvisorAgodaHotelbedsTravelgateXHyperguestRoibosReconlineTraviaOpenGDS.comMG BedbankDidatravelHotelREZHRSHotelnetworkGetaroomWinkBookeasyVRBOInntopiaHookusbookusHipcampSpot2niteCamping VisionMinistry of VillasTrip.comTravelokaTiketMakeMyTripHoteripKlookeDreamsSzallasEmerging Travel GroupCheck24Bed-and-Breakfast.itWorld2Meet (W2M)Ctoutvert / SecureholidayDespegarPriceTravelRoombeastMitchell CorpHRS AustraliaResonlineHostelworldHostelhopTablet MichelinMr & Mrs SmithHopperHotel TonightPitchupMoveriiLocalOTAAlaricBooknpayCultbookingGuestTractionLevartWeSpeakMake.comZapierPricelabsPricepointRategenieElastic HotelRoom Price GenieTurbosuiteUber EatsDeliverooDoorDashBolt FoodGlovo
Getting Started

Account Setup

Create an organisation and complete the initial Tiquo setup

Tiquo supports self-service organisation creation. Contact the Tiquo team when you need commercial onboarding, migration assistance, or access to a feature that is not included in your current plan; an invitation is not required for the standard organisation-creation flow.

Create your organisation

Create or sign in to your Tiquo account

Complete the account authentication flow, then open the organisation selector.

Create or sign in to a Tiquo account

Choose Create Organization

In the organisation selector, click Create Organization, enter the organisation name, and complete the creation form. Tiquo then switches into the new organisation.

Create an organisation

Complete organisation details

Open Settings > General to complete the organisation profile and organisation-wide controls. Configure legal entities and appearance where required.

Create a location and sublocation

Open Locations, create the physical location, then add at least one operational sublocation. Products, services, orders, bookings, and payment configuration are scoped through sublocations.

Connect and assign Stripe

Connect the Stripe account used to process payments, then open the relevant sublocation's settings and assign that connected account to the sublocation. Connecting an account without assigning it to a sublocation does not complete that sublocation's payment setup.

Connect and assign a Stripe account

First-time setup checklist

  • Complete the organisation profile.
  • Configure legal entities.
  • Create the first location and sublocation.
  • Connect payment processing and assign the account to each relevant sublocation.
  • Invite team members. See Organization Settings.
  • Configure branding and themes. See Themes.
  • Configure the required portal, website, and email domains. See Custom Domains.
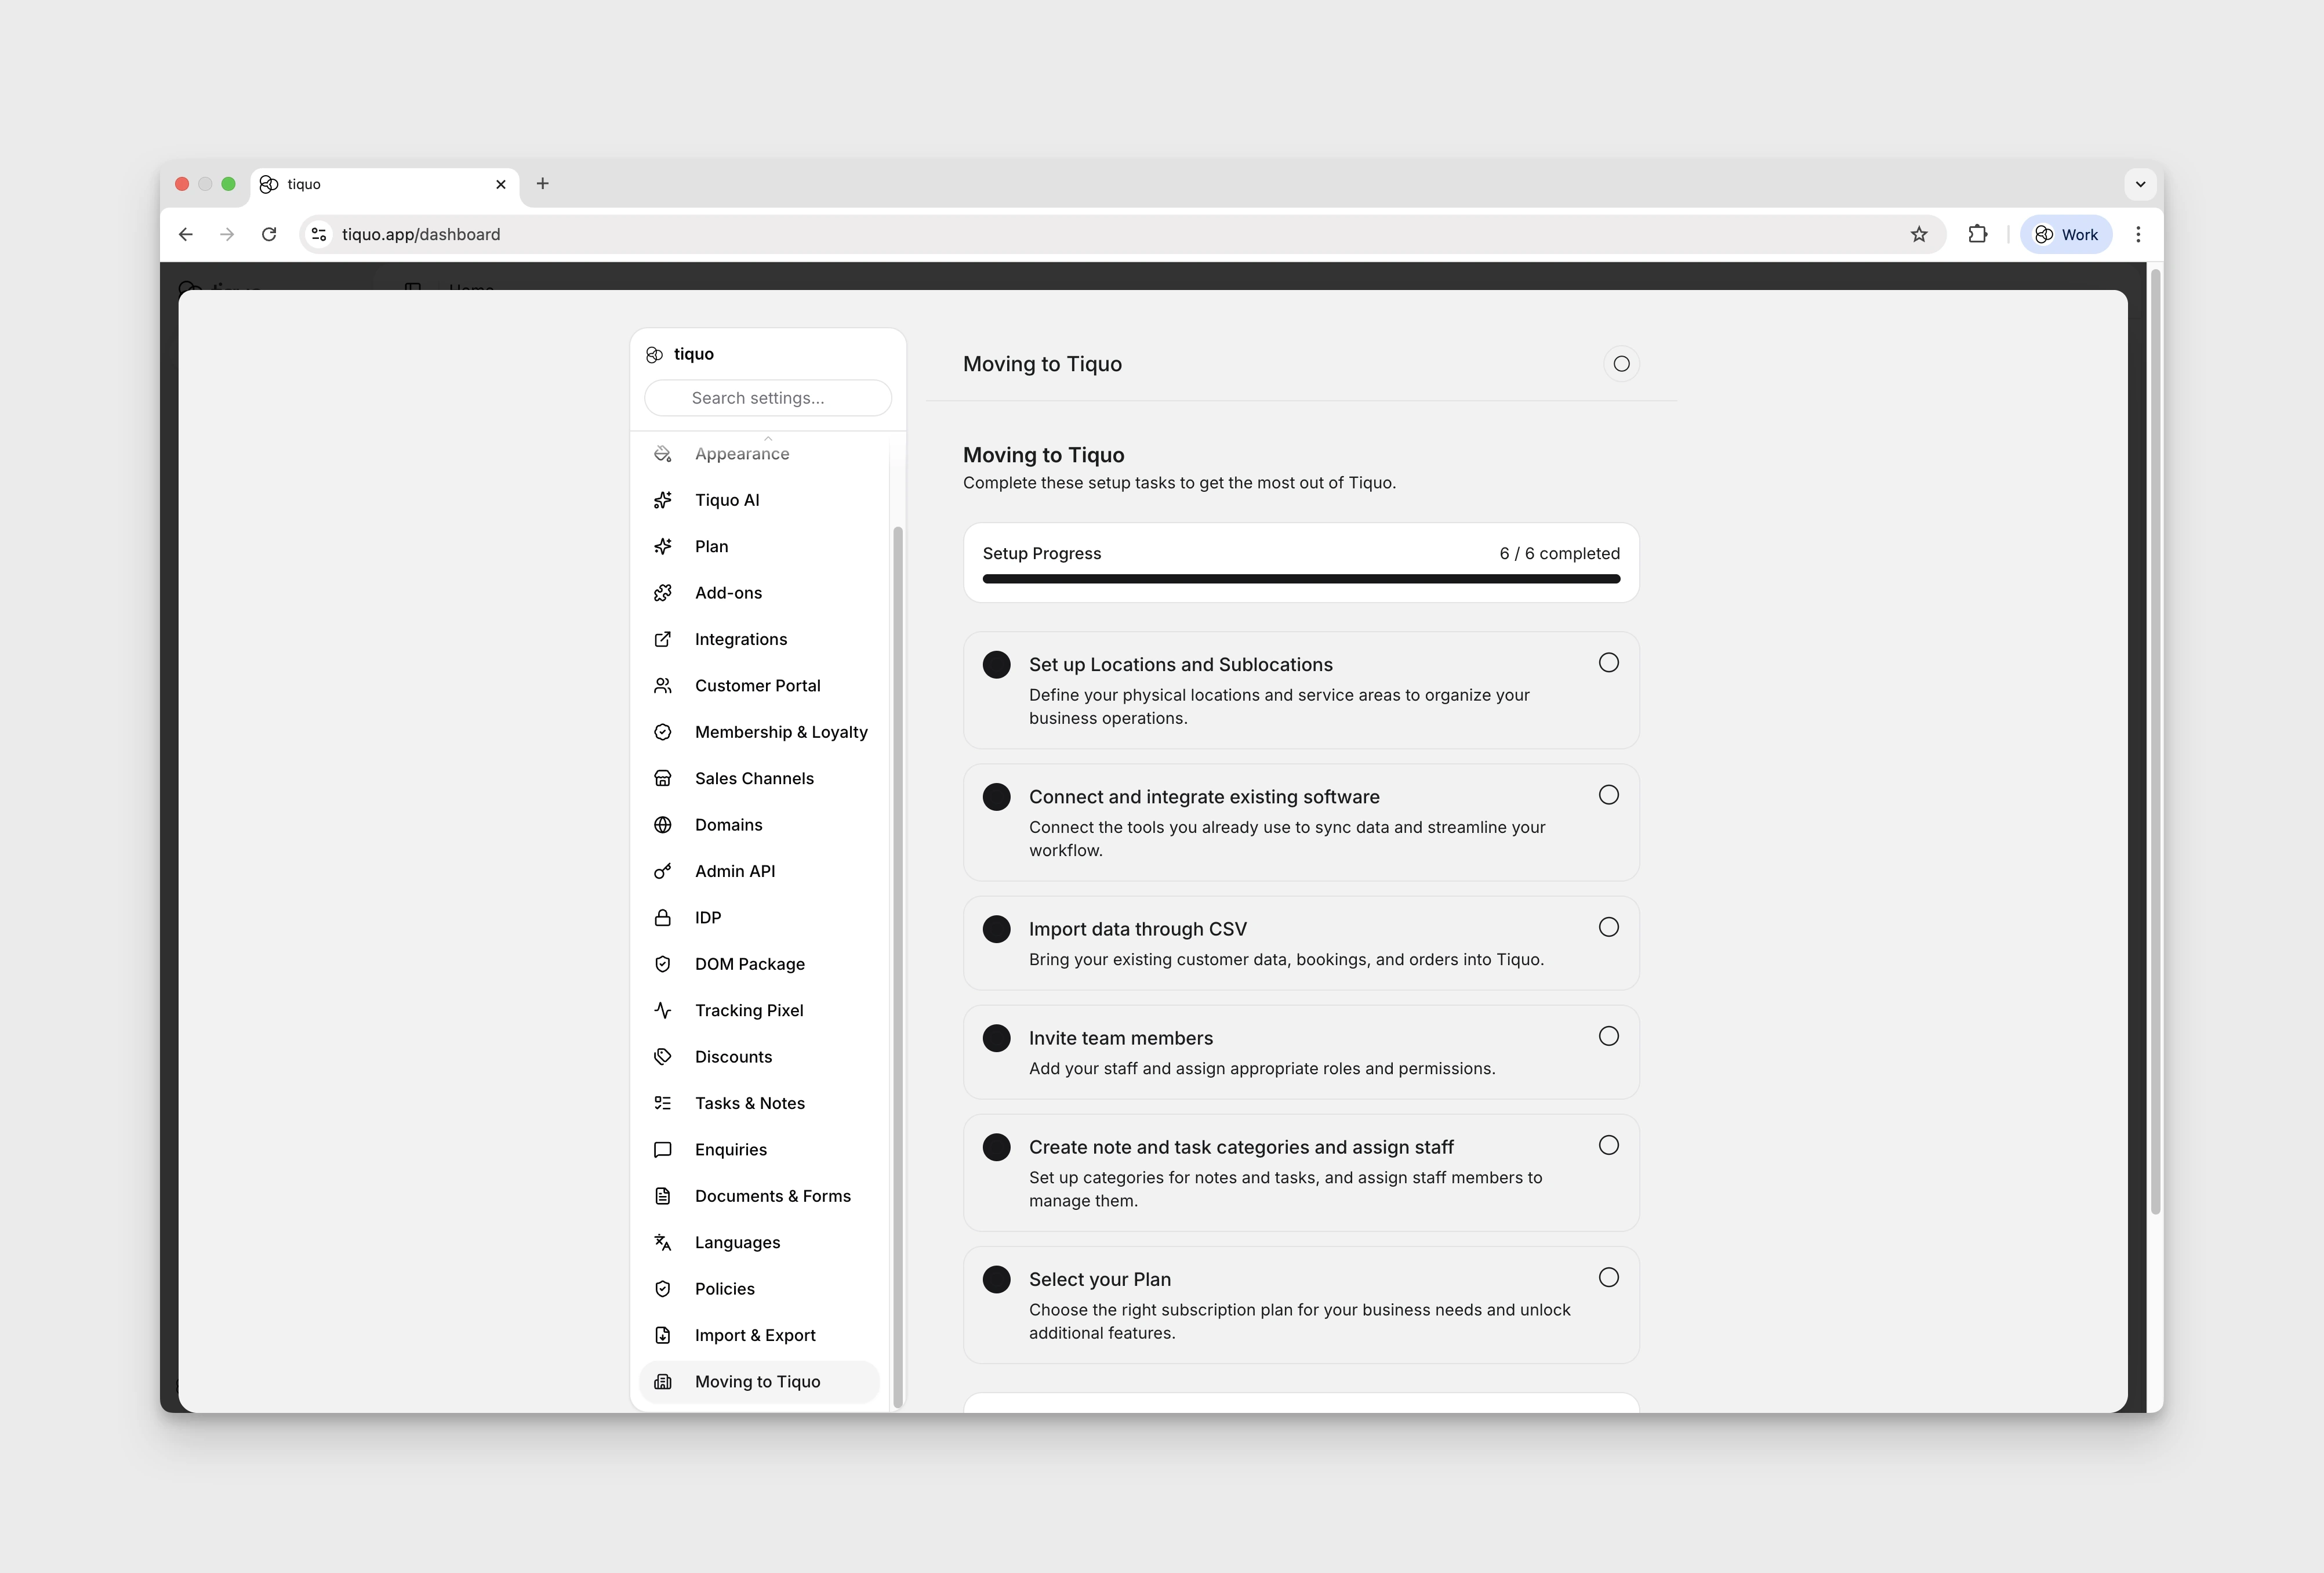
Account setup checklist

Sur cette page