

Email Sending and Domains
Choose campaign senders, configure customer email templates, and verify sending domains
Tiquo does not have one global Email Configuration page. Email settings are split between campaign sending, customer notification templates, and verified email domains.
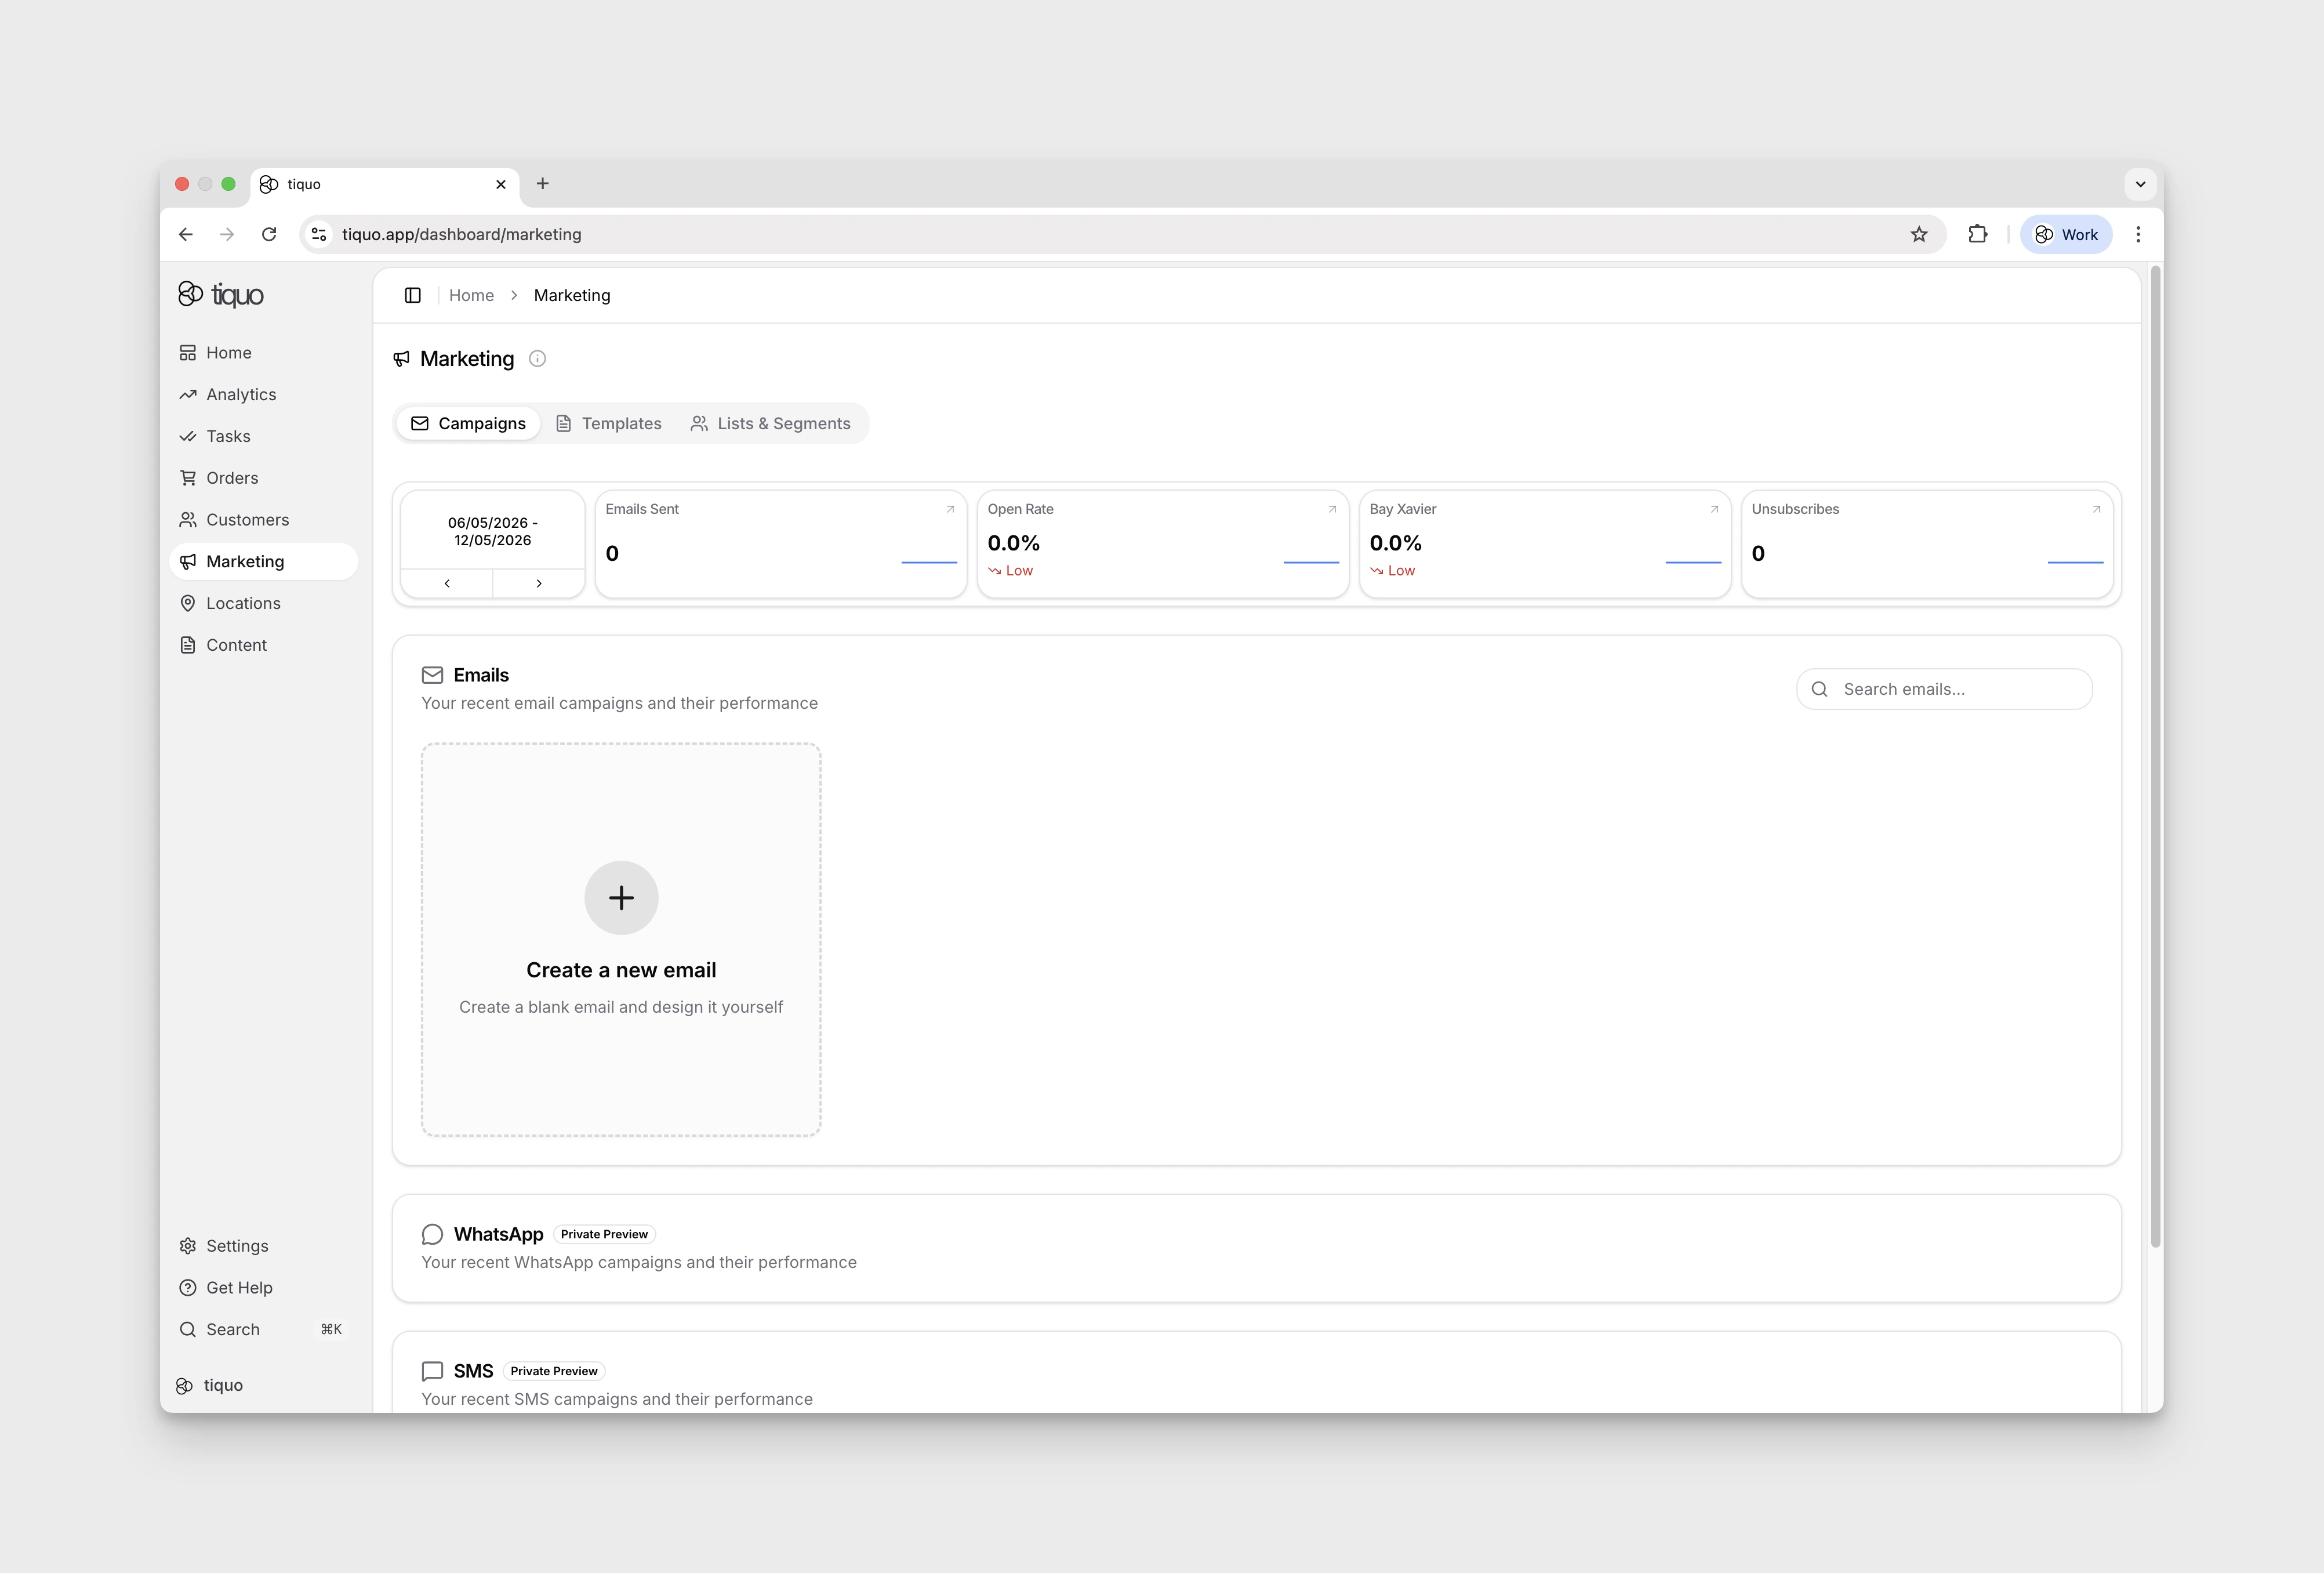
Marketing campaign sender
Sender details for newsletters are chosen when a campaign is sent rather than stored as one organisation-wide sender.
- Open Marketing > Campaigns.
- Create or open a campaign.
- Click Send to run Email review. Resolve important findings before continuing to the send setup.
- In the send dialog, choose the audience and enter the sender name and sender email shown to recipients.
- Review the campaign and either send immediately or schedule it.
Use a sender address from a domain your organisation has verified. The sender selected for one campaign does not automatically replace the sender on every transactional or system email.
Customer notification emails
Organisation defaults for automated customer emails are managed separately:
- Open Settings from the gear icon.
- Select Notifications in the Platform section.
- Choose the sender and configure the customer email templates and defaults available there.
- Save the changes. Customer flows can still provide their own supported overrides.
These are customer notification defaults; they are not per-user staff notification preferences and they do not set the sender for every marketing campaign.
The organisation-wide notification sender can use a custom address on a verified email domain. Configure the local part and select the verified domain under Settings > Notifications. Tiquo uses that address for supported automated customer notifications; if the domain is no longer eligible for sending, notifications use the standard Tiquo sender so delivery is not interrupted.
The notification sender has a configurable display name and address. The name falls back to the active brand or organisation name when no explicit notification name is saved. A sublocation theme override takes precedence for supported branded messages sent in that sublocation's context. If no verified custom email domain is selected, Tiquo uses its default notification address; after verification, select the domain and configure the local part of the sender address.
Automation emails use the same resolved organisation sender identity. Their sent and delivery-status events are recorded as communication activity on the associated customer.
Organisation templates are available for booking confirmation, appointment reminder, cancellation, and follow-up emails. Under Membership emails there are templates for Application Approved, Application Declined, Membership Welcome, Membership Payment Link, Membership Payment Failed, Membership Paused, and Membership Resumed. Organisation defaults cascade to customer flows, where a supported per-flow template can override them.
Each template has a switch that turns that email on or off for the whole organisation. Settings > Notifications needs the Manage marketing templates permission.
The template editor supports previewing and resetting a template. It has two modes. Edit changes the wording and visibility of the standard template, with quick settings for supported elements such as the logo, service image, details card, call-to-action button, wallet card, and template variables. Design lets you add, remove, rearrange, and style every part of the email, including layout, blocks, typography, and colour. Both modes are available for booking and membership templates.
Booking templates can insert Customer Title and Customer Nickname. The title is written in the venue's document language.
Membership payment failed email
Membership Payment Failed is off by default. Turn it on under Settings > Notifications to email a member when a recurring membership payment fails or their bank asks them to confirm it. The email links to the customer portal, where the member can retry the payment or use another card. It is sent once for each failed payment attempt.
The default subject is Payment needed for your {planName} membership. When the bank needs the member to authenticate the payment, or the saved card has expired, the default subject and wording ask them to confirm the payment or update their card instead.
As well as the standard membership variables, this template can use Amount Due, Payment Failure Reason, Next Payment Attempt, Card Last Four, and Grace Period End Date.
AI email translation
Organisation administrators can enable AI Email Translation under Settings > Tiquo AI. When enabled, the email builder displays a translation menu.
Choose a destination language to translate all supported email text and image alt text. Tiquo AI preserves the layout, links, personalisation fields, and intended tone. Translation is applied as an editable builder change, so review the complete email before saving or sending it.
If the feature is disabled at organisation level, the translation control is not available. AI-generated translation can contain errors and must be reviewed by the sender.
Verify an email domain
- Open Settings > Domains in the Developer section.
- Use the email-domain area to add the domain you want to send from.
- Add the DNS records shown by Tiquo at your DNS provider.
- Return to Tiquo and verify the domain after DNS has propagated.
- Use an address on that verified domain when configuring an eligible campaign or notification sender.
Domain verification establishes an approved sending domain. It does not automatically rewrite every existing campaign or template to use that domain.
Custom tracking domain
After an email domain is verified, select Add tracking domain on its domain card to use a branded link. subdomain for supported campaign open and link tracking.
- Add the tracking CNAME record shown by Tiquo at your DNS provider.
- Wait for DNS propagation.
- Return to Settings > Domains and check the tracking DNS status.
The domain card shows Tracking when verification is complete. Until then it remains Tracking pending and the action menu provides the tracking DNS details.
Unsubscribe behaviour
Marketing emails include Tiquo's required unsubscribe handling automatically. There is no separate organisation setting for removing or redefining that behaviour.
When a customer unsubscribes:
- Their marketing opt-in parameter is updated automatically
- They are excluded from future marketing communications
- Transactional and operational emails remain unaffected
The email-preferences link is reversible. A customer who has unsubscribed can open the same preferences page and subscribe to marketing email again. Their Marketing Opt-In parameter and opt-in time are updated to reflect the new choice.
Transactional and operational emails remain separate from marketing opt-in status, so a customer can opt out of marketing without suppressing essential service messages.